|
Lab #5: Water & Soil
Experiment #3: Testing Soil
|
|
|
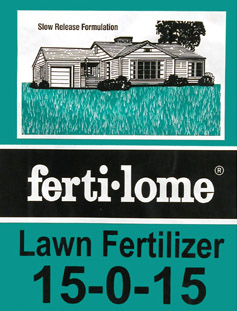
Often when you see fertilizer products, you see a set
of three numbers on the packages. In the left bag, we see "32-3-4"
and the right package "9-15-20." These numbers are referring
to three fertilizers: Nitrate, Phosphorus, and Potassium. They are always
listed in this order. The numbers are percentages by weight.
|
|
|
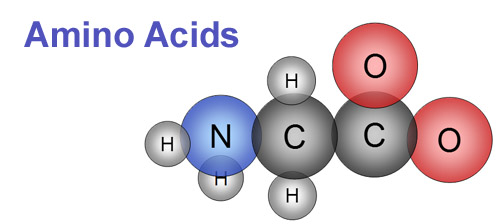
NITROGEN: Nitrogen is necessary for new growth
and green plants.
If you've read the Building Block tutorials in the lecture
course, you may remember that nitrogen is needed to make amino acids.
|
|
|
An amino acid has an "amino" group, which always
has a nitrogen. Amino acids are chained together to make proteins. Proteins
create structure and act as enzymes.
Nitrogen is absorbed as nitrate (NO3)-
or ammonium (NH4)+.
|
|
|
Nitrogen is also used in chlorophyll.
Notice the four nitrogen atoms that hold the magnesium (Mg) atom.
|
|
|
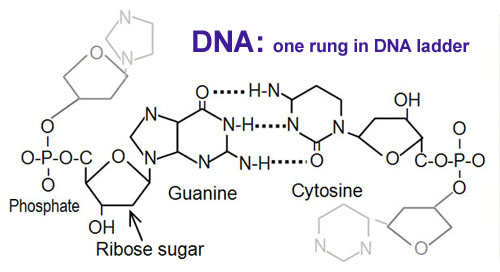
Looking at DNA to the left, you
will see several nitrogens are needed in the rings. So nitrogen is needed
for fast plant growth because as cells divide, DNA needs to be duplicated.
|
|
|
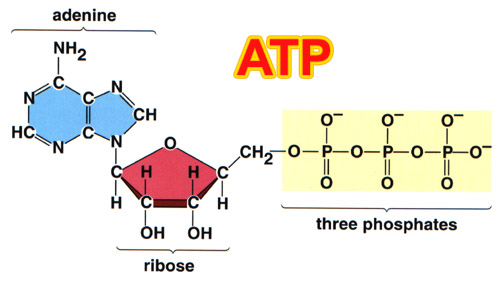
PHOSPHORUS: The molecule
that provides energy for all living things is called Adenosine Triphosphate
(ATP). To the left is the structure of this molecule. Notice the three phosphates
using three phosphorus atoms. It is absorbed as H2PO4-
and HPO4-2. Phosphorus is also part of DNA (see previous
picture). |
|
|
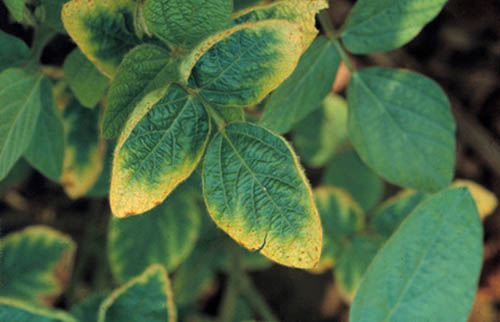
POTASSIUM: Potassium ion (K+) is needed
to control the water uptake in the plant. The plant to the left shows
a deficiency of potassium. Potassium is also needed for the assembly
of proteins, ATP, and used in photosynthesis. It is absorbed simply as
the ion (K+)
|
|
|
In this fertilizer, the zero means
there is no phosphorus. In some areas by lakes or rivers, it is recommended
that fertilizers not have phosphorus because the phosphorus can over stimulate
growth of algae in the lakes or rivers. The numbers "15" are interpreted
as 15% by weight. |
| |
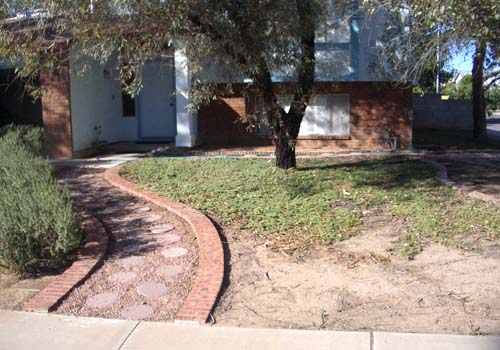 |
This is my front yard. The area near the sidewalk has
trouble growing anything. I decided to test the soil in this area to see
if there were any deficiencies of nitrogen, phosphorus, or potassium.
|
|
|
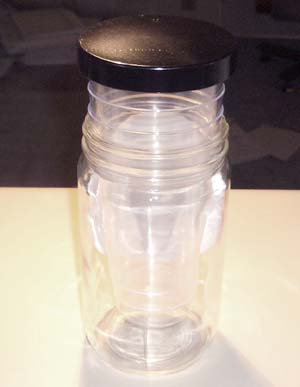
In your kit is a glass jar with a stack of plastic cups
inside. You will use one of the smaller plastic cups. You will also need
a filter paper from this jar. We want to place mark on the small cup so
we can measure out 100 mL of soil. |
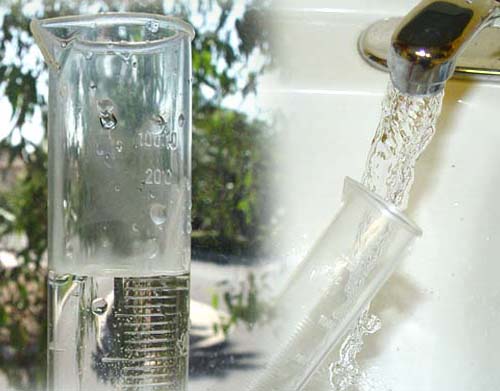 |
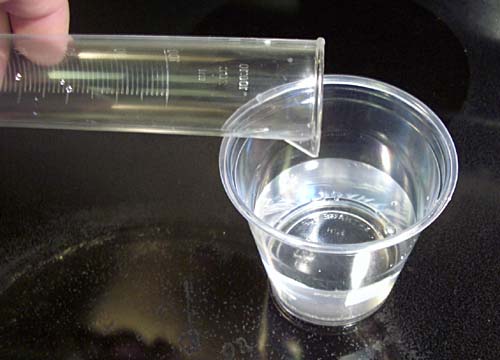
One way to know where that mark should go is to place 100
mL of water into the cup. Use your 100 mL graduated cylinder. Fill it with
tap water. |
|
|
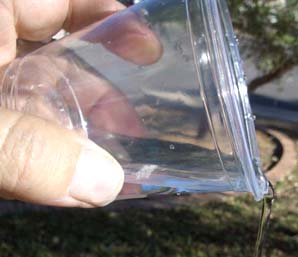
Pour the 100 mL of water in to the cup.
|
|
|
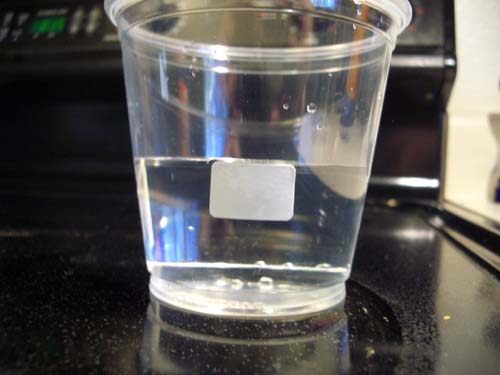
Your kit has a few sheets of small paper labels. You
can take one and stick it to the side of the cup or use a pen to mark
the level of 100 mL.
|
|
|
Pour the water
out. |
|
|
 Take
a picture of where you are sampling the soil. Take
a picture of where you are sampling the soil.
|
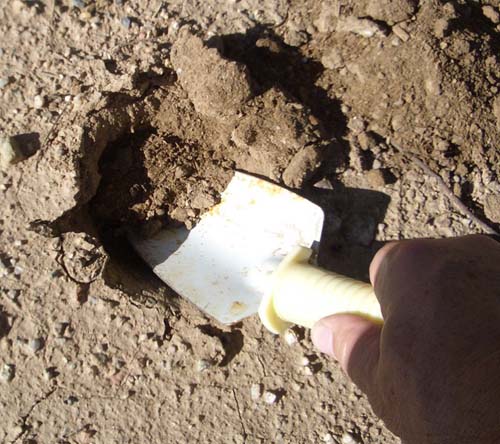 |
Use a spoon, spade, or knive
to dig into the soil. You probably want to take dirt that is a few inches
down. That's where the roots are. So you may want to go 3 inches or much
deeper depending how deep the roots of a new plant might start at. |
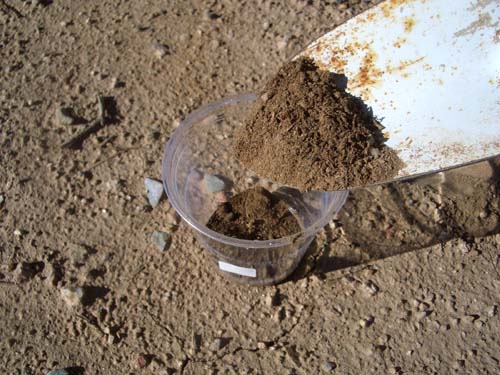 |
Place soil into the cup. |
 |
Fill cup up to the 100 mL mark. That way we use a
consistent amount of soil to compare results.
|
|
|
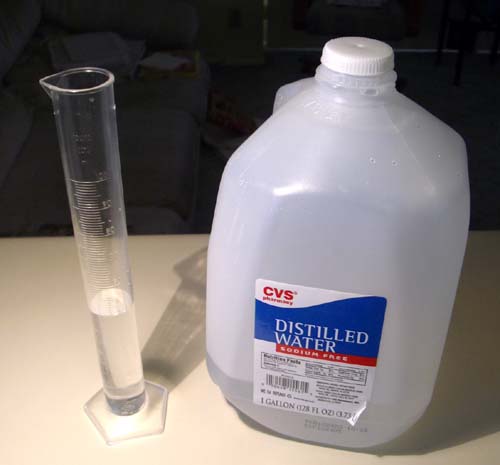
Use distilled water to measure out 100 mL of water using
the graduated cylinder.
(Note: the picture is only showing about 40 mL of water.
You want a whole 100 mL)
|
 |
Pour the 100
mL of distilled water into the cup with the 100 mL of soil. |
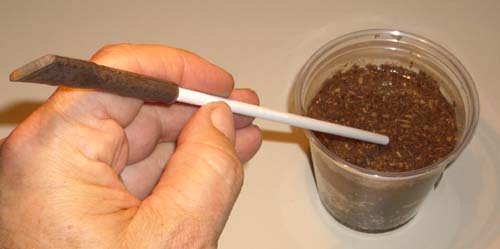 |
The soil needs to be stirred.
In your kit is a stirring rod with a rubber end (called a rubber policeman).
Don't use the rubber end; it's too soft. Just use the other end to stirrer. |
|
|
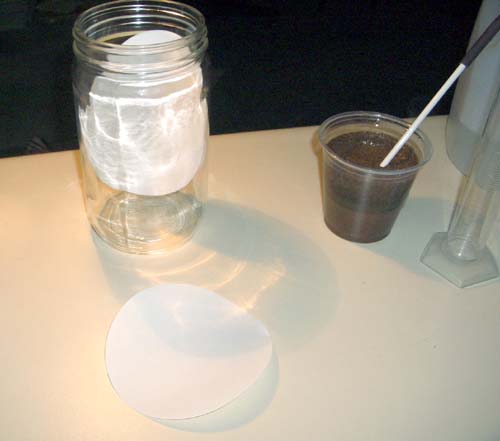
You will need a filter paper.
So open the glass jar in your kit. Remove the plastic cups and retrieve
a filter paper. |
|
|
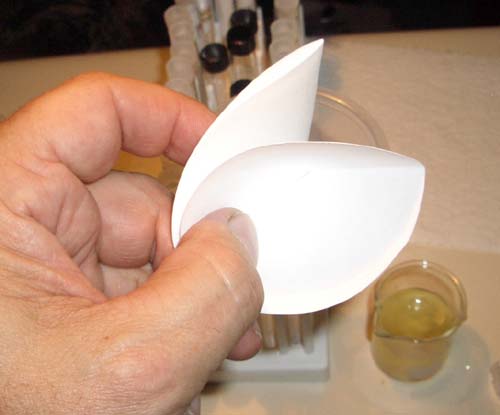
First
fold the filter paper in half. |
|
|
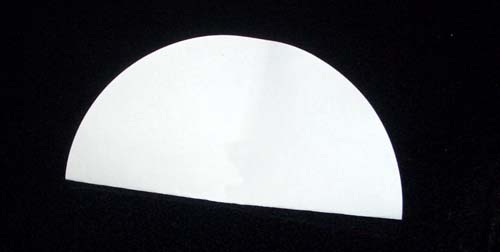
Now
fold the filter paper but not evenly. Fold it as shown in picture. |
|
|
Open one side of the folded
filter paper. |
|
|
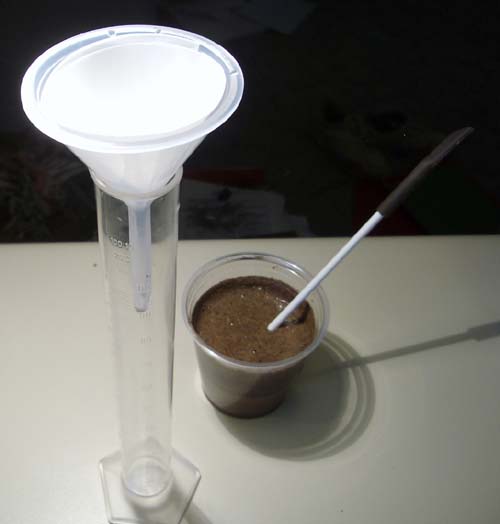
Place the filter
paper in the funnel and place the funnel on top of the 100 mL graduated
cylinder. |
|
|
A trick in minimizing
solids from getting poured out with the liquid is to pour against a rod.
The rod directs the liquid into the funnel (reduces splashing) and it blocks
the solids from coming out with the liquid. This process is called "decanting,"
which to pour off a liquid without disturbing the "sediment." |
|
|
Let the water
pass through the filter paper leaving the soil behind. |
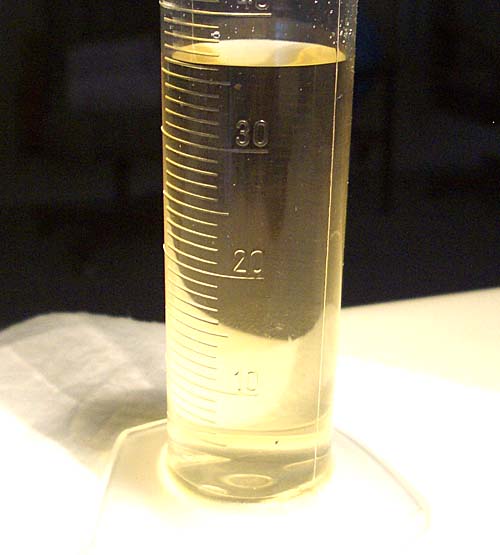 |
Keep pouring
water from the cup with the soil until you collect around 30 mL of liquid.
Yours might be clear or have a brownish tint like mine did here. |
 |
Open up your Soil Test tablet cannister and find the
foil cover tablets labeled "FLOC EX" on one side and "TESTAB
Tear open
|
 |
Tear open the .
|
 |
Now add about 3 or 4 drops of the colored water to each
of the test tubes. Remember, you may have a different color than shown
here.
Trivia: There are only 9 color additive certified to be
used in food for humans in the United States.
|
|
|
This is what
my test tubes looked like after adding the diluted green food coloring.
The next thing to do is to shake the tubes again to see if they absorb this
colored organic molecule. |
 |
After shaking,
I noticed that the middle test tube with the dual ion exchange resin (deionizing
type) had absorbed the green food coloring. However, the activated charcoal
was not settling and I couldn't see the color of just the water. So I decided
to filter some of this water to remove the black activated charcoal particles.
Your activated charcoal may not be cloudy like mine, and you won't need
to do what I did in the next few steps. |
|
|
Just like we
did in experiment one, I placed a piece of cotton from one of the cotton
swabs into a glass pipette. The cotton would act as a filter to the activated
charcoal particles. |
 |
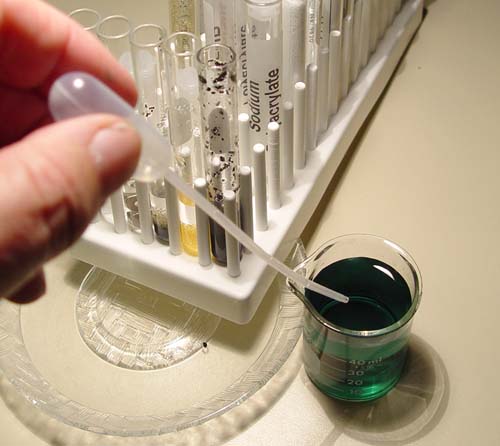
Using a plastic pipette I transfered some of the liquid
from the activated charcoal test tube to the glass pipette sitting in
another test tube.
|
 |
You can see
the particles of activated charcoal make it hard to see if it had absorbed
the green food coloring. But after the liquid passes through the cotton,
the activated charcoal should be separated from the water. |
|
|
Here you can
see how the cotton trapped the activated charcoal particles. The water passing
through is clear meaning that the activated charcoal did indeed absorb the
green food dye. |

 (Take
a picture of your test tubes at this point in the lab.) (Take
a picture of your test tubes at this point in the lab.)
|
|
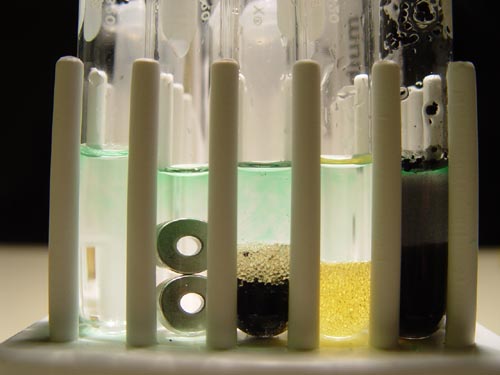
Here is the final line up. The test tube with only tap
water is still greenish as expected. The water with the two magnets still
has some green tint to it, so magnets apparently don't absorb organic
molecules. The middle test tube with the dual ion exchange resin cleared
up the water nicely. The ion exchange resin (sodium type) did not absorb
this organic compound. The activated charcoal did. So what does this tell
us? Being absorbed by the activated charcoal means that it is a relatively
large organic (carbon-based) compound. The behaviour with the two resins
indicate that the green food coloring molecule is probably negatively
charged. Remember, the sodium ion exchange resin absorbs positive metal
ions like calcium+2. It would also absorb any positively charged
organic compound. But since it didn't, we can assume the green dye is
not positive. The dual resin, however, can absorb both negatively and
positively charged compounds.
|
|
|
Here is the
structure for FD&C green # 3. You can see it is
a large compound, which is why the activated charcoal trapped it.
In water the three sodium ions (Na+) will get carried away by water molecules.
The main structure has three SO3- groups
(3 negative charges) and one positive charge on the lower nitrogen atom
(N+). Overall the molecule would have a net charge of a negative 2 [(-3)
+ (+1)=(-2)]. That it why the sodium ion exchange resin did not trap it,
but the dual resin did. |
|
|
FD&C Blue
#2 is this structure. (Almost the same as the green dye above.) It comes
from the Indigo plant, which has blue flowers. This dye has been used for
centuries and is also the dye used for blue jeans. It doesn't bind to cotton
very strongly, which allows blue jeans to get that faded look. If we wanted
our blue jeans to fade faster, we could add some of the dual ion exchange
resin (deionizing type) to the wash. Activated charcoal would help it fade
also, but it would stain the cotton with black carbon particles. |
(As
always, I need a picture of you doing some step in this lab. Perhaps
take a picture of you shaking a test tube or holding up a test tube
and looking at it.)
Email the results you got to me along
with the three pictures from this lab.
|