Testing
Water & Soil
Experiment #13: Soil Testing (old
name was lab5, exp3)

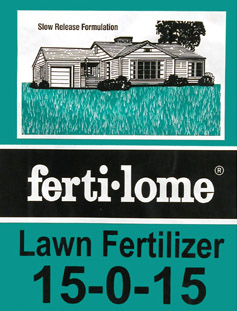
Often when you see fertilizer products, you see a set of three numbers on the packages. In the left bag, we see "32-3-4" and the right package "9-15-20." These numbers are referring to three fertilizers: Nitrate, Phosphorus, and Potassium. They are always listed in this order. The numbers are percentages by weight.

NITROGEN: Nitrogen is necessary for new growth and green plants.
If you've read the Building Block tutorials in the lecture course, you may remember that nitrogen is needed to make amino acids and DNA.
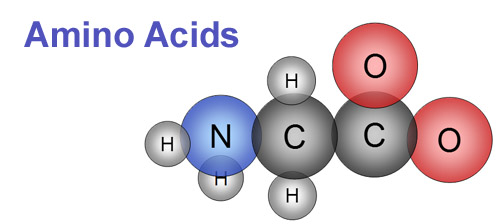
An amino acid has an "amino" group, which always has a nitrogen. Amino acids are chained together to make proteins. Proteins create structure and act as enzymes.
Nitrogen is absorbed as nitrate (NO3)- or ammonium (NH4)+.

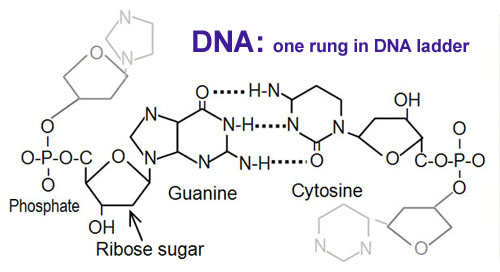
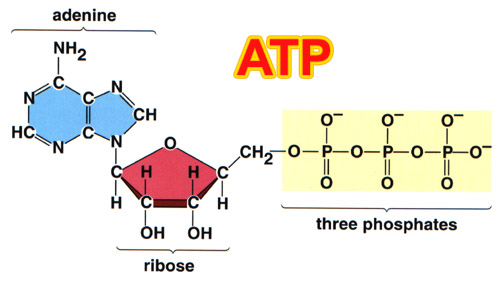
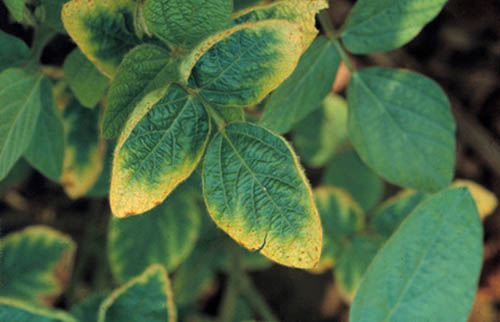
POTASSIUM: Potassium ion (K+) is needed to control the water uptake in the plant. The plant to the left shows a deficiency of potassium. Potassium is also needed for the assembly of proteins, ATP, and used in photosynthesis. It is absorbed simply as the ion (K+)
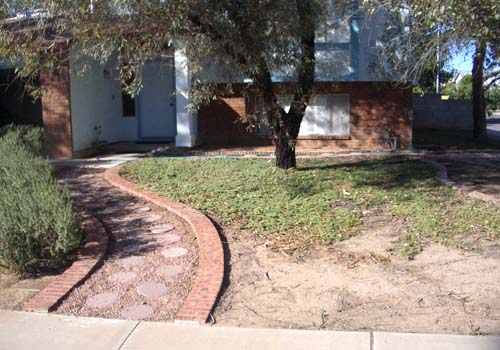
This is my front yard. The area near the sidewalk has trouble growing anything. I decided to test the soil in this area to see if there were any deficiencies of nitrogen, phosphorus, or potassium.
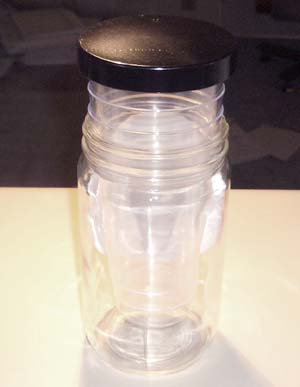
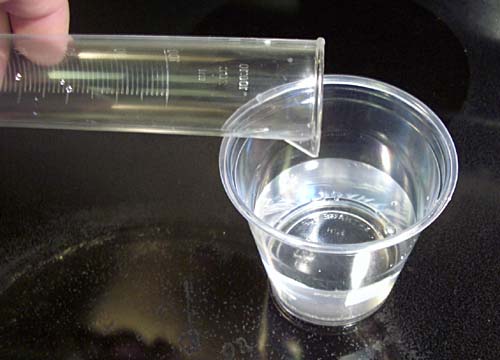
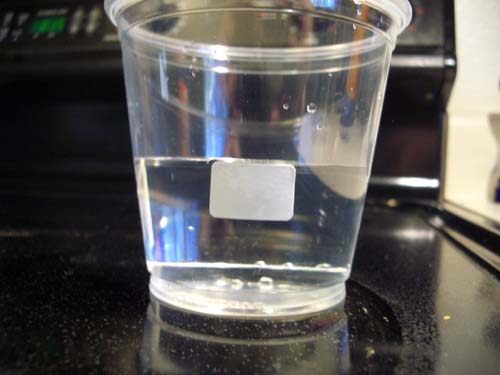
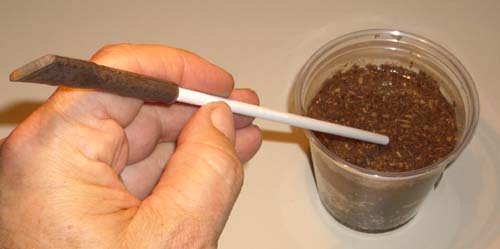
Your kit has a few sheets of small paper labels. You can take one and stick it to the side of the cup or use a pen to mark the level of 100 mL.
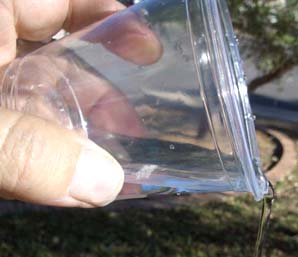

 Take
a picture of where you are sampling the soil.
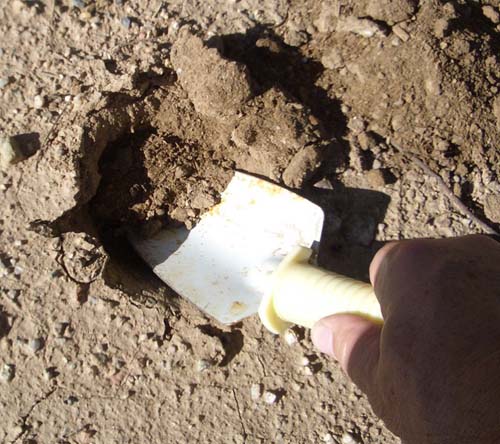
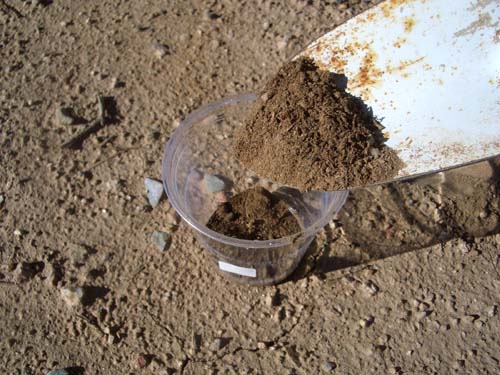
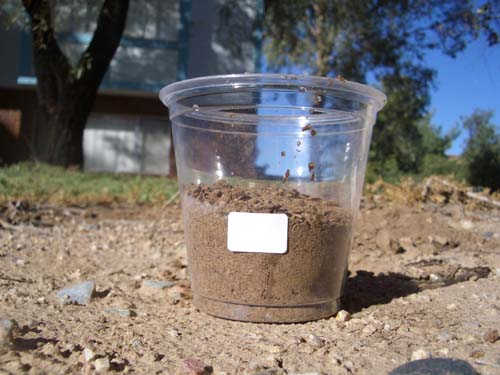
Fill cup up to the 100 mL mark. That way we use a consistent amount of soil to compare results.
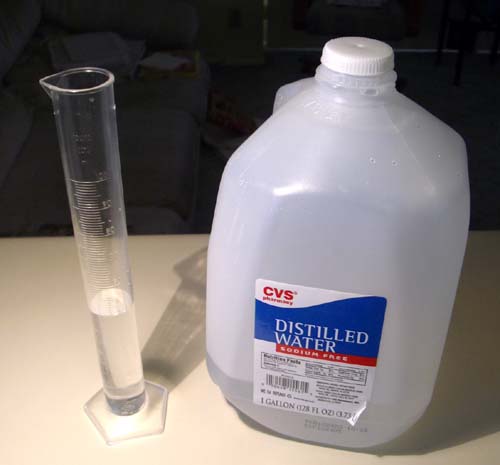
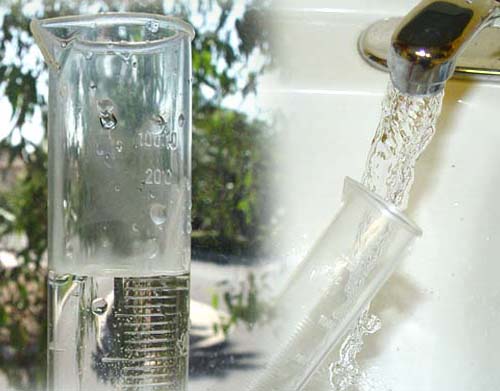
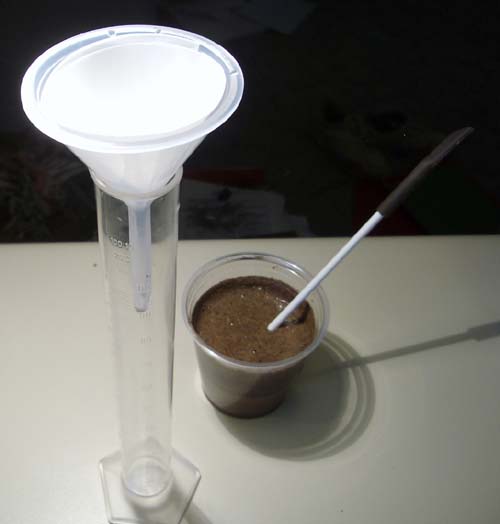
Use distilled water to measure out 100 mL of water using the graduated cylinder.
(Note: the picture is only showing about 40 mL of water. You want a whole 100 mL)
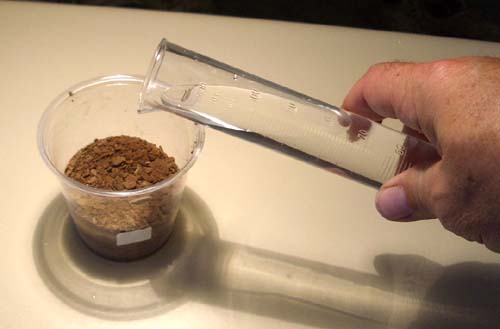
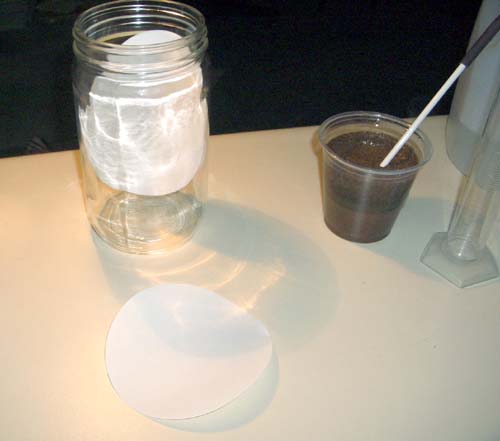


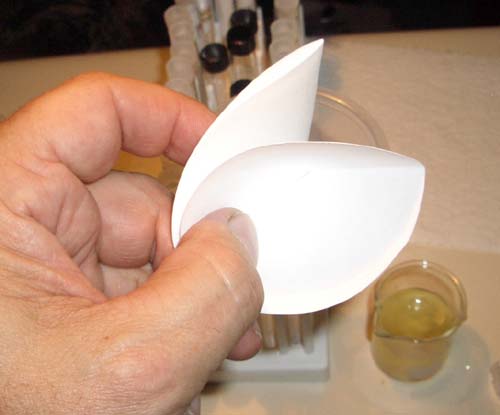


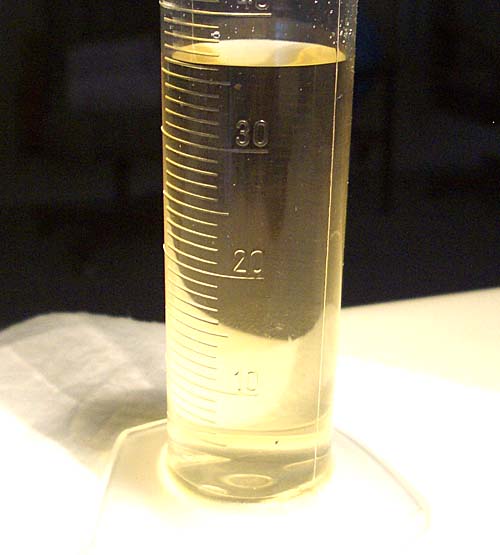

Open up your Soil Test tablet cannister and find the foil covered tablets labeled "FLOC EX" on one side and "TesTabs" on the other side. The other tablets you will see are "POTAS" (potassium), "PHOS" (phoshorus) and "NITRATE". For now, you just need the "FLOC EX" tablet.

Tear open the "FLOC EX" foil and drop one tablet into the graduated cylinder. This tablet is a flocculent. A flocculent causes some impurities in the water to become insoluble and settle to the bottom. This will make the liquid more clear and easier to check color changes.

If you want the tablet to dissolve easier, you might want to hook up the portable air pump. Connect about one foot of the tubing to it and let it bubble air through the water in the graduated cylinder. This will speed up the dissolving of the tablet.
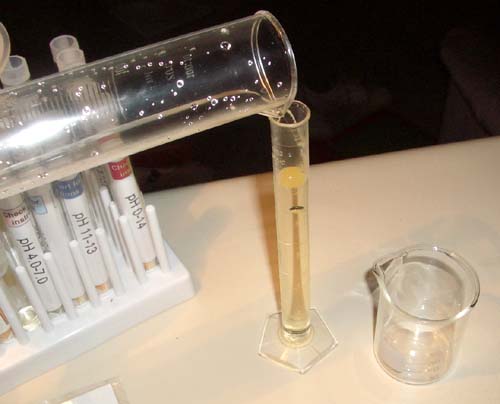
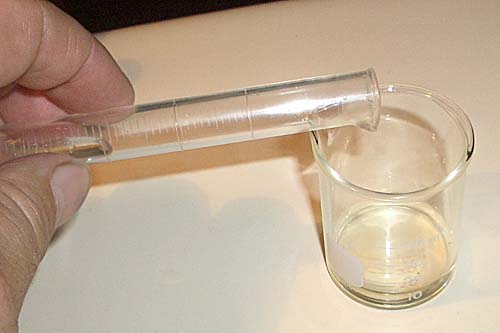
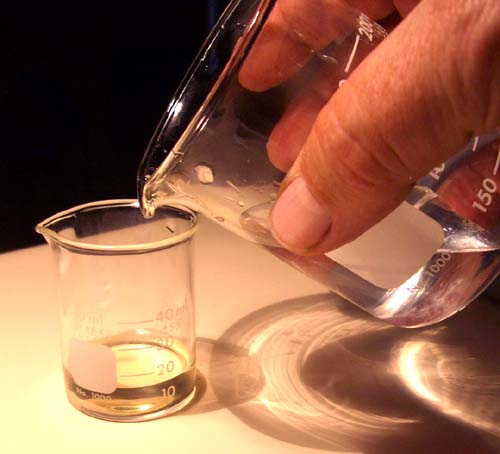
Pour some distilled water into the 250mL beaker and then transfer enough distilled water to bring up the liquid level in the 50mL beaker up to the 40mL mark. This dilutes the soil-water extract four-fold.

We are doing this because we are using four times the soil that is normally used for these soil tests. Using more soil will better represent the soil we are testing. However, using four times more soil will also increase the concentration of nitrogen, phosphorus, and potassium four-fold. The final color chart for the tests expects lesser amounts, so we are diluting the soil extract by four to make it match the color charts.

Pour the diluted soil extract into a test tube. Fill the test tube about 3/4 full.
This is the test tube that you will test nitrogen levels.
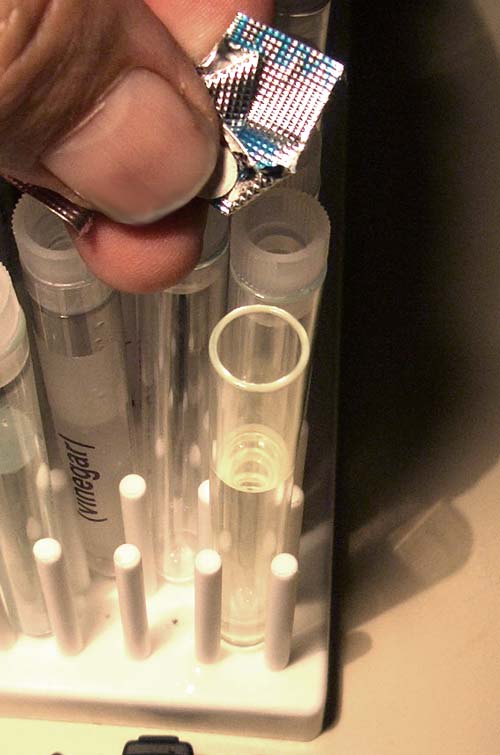
Find the foil wrapped tablet with "NITRATE" printed on it. Tear open one side and place one tablet into the test tube with the diluted soil extract.
Set your stop watch to zero and then start it when the tablet is placed in the test tube.
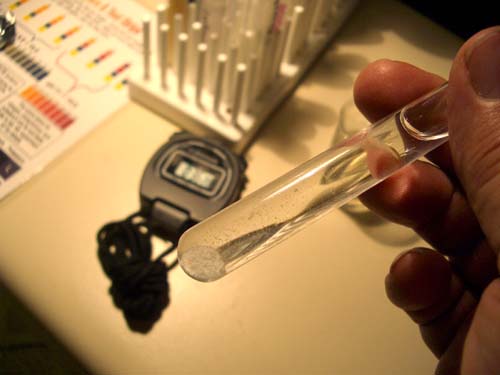


Locate the foil wrapped tablet labeled "PHOS." (short for phosphorus)
Also, set your stopwatch to zero.
After dropping in the "PHOS" (phosphorus) test tablet, start the stopwatch.
Place cap on test tube and start shaking until dissolved.
After five minutes you will check the color of the text tube water with the color chart.

At five minutes compare the color of the text tube with that of the color chart for Phosphorus. I'd say that this sample of soil is low in phosphorus. This is good to know. Now I know what to buy for my soil.
Now on to the potassium test.
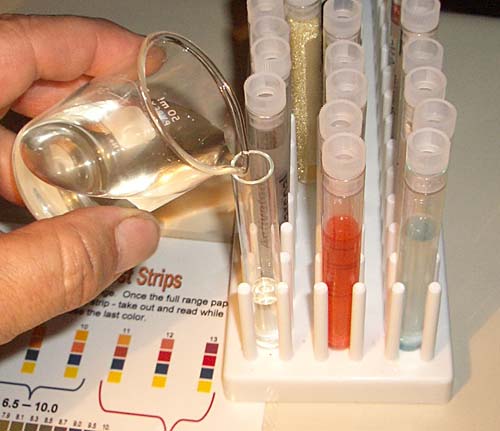

Add one tablet from the foil packet labeled "POTAS"
Again start the timer after you add the tablet.
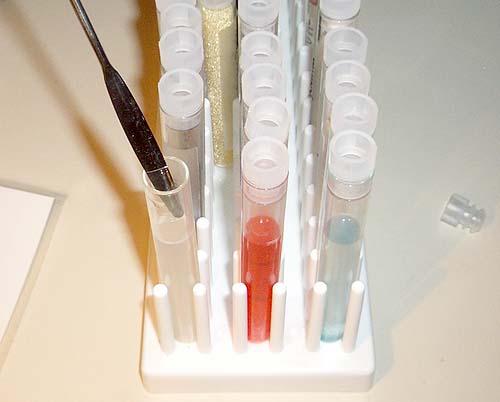
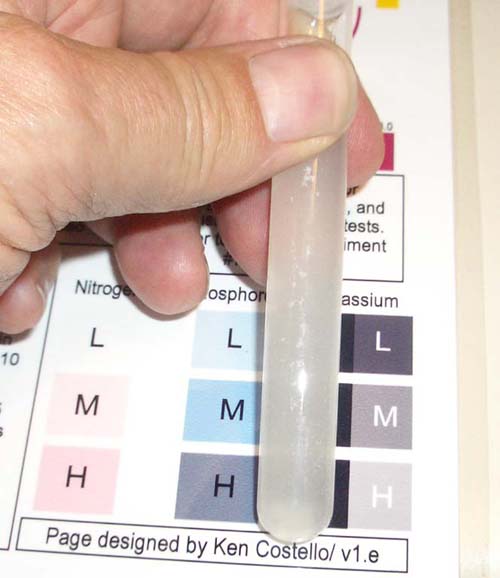
Now hold the test tube over the black squares next to the potassium "L M H" squares. The more potassium the more opaque the liquid will be. I estimate my sample to be between the M (medium) and H (high) levels of potassium.
So it looks like the only thing my soil needs is phosphorus. Nitrogen and potassium levels seem good.
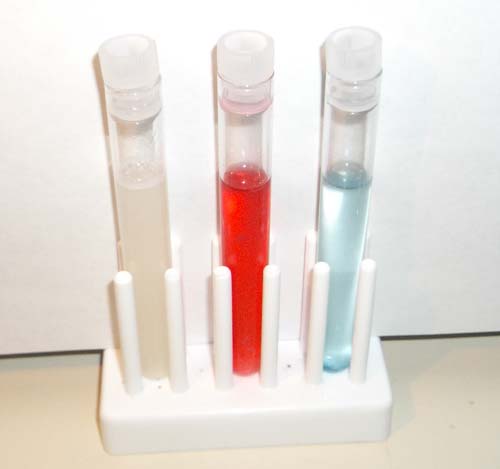
Take a picture of the final three test tubes after the tests have been performed. I realize the colors will be different than they were at the 5 minute mark. It may help to place some white paper behind them to help the colors stand out.

 (As
always, I need a picture of you doing some step in this lab. Perhaps
take a picture of you shaking a test tube or holding up a test tube
and looking at it.)
Email the results you got to me along with the three pictures from this lab.