Last updated 2-23 -04
<-CHM-107Lab Home Page

Lab #1: Preparing solutions for use in future labs.

Part #1: Preparing Purified Water

Let's begin with the items that you will need for the lab that you may need to buy at the grocery store. There are four items.

#1. Distilled water: This is not the same as bottled drinking water. Distilled water is made from steam that is cooled and collected. It is supposed to be free of any salts (minerals). An alternative to distilled water is deionized water. Deionized water is water that has been passed through resins that capture all dissolved salts. You use these to rinse off glassware so there are no mineral spots. It is also used where you want pure water.

#2. Red Cabbage: You will also need red cabbage. The pigment in red cabbage is known for its ability to change colors depending on the pH (level of acidity) that it comes in contact with. In the second part of this experiment, you will extract the pigment from the cabbage. This extract will be used in future experiments to test the pH of liquids.

#3. Vinegar or lemon juice:Vinegar or lemon is needed to check how the red cabbage extract responds to an acid. If you do get vinegar, get one that is clear. This white distilled vinegar is clear. You will using vinegar for later experiments.


#4: Baking Soda: Baking soda when mixed in water will make it alkaline (also called basic), which means it is the opposite of acid. It will also be used to test the red cabbage extract.

The following items should be in your chemistry kit.

#1. Ion Exchange Resin: Deionizing type. This resin is capable of pulling all dissolved salts (minerals) out of water. It also traps any dissolved compound that has a charge on it such as strong acids like battery acid (sulfuric acid).
#2. Activated Charcoal: Activated charcoal traps non-salts like solvents, such as, acetone, alcohol, gasoline, etc. It also traps drugs and insecticides.
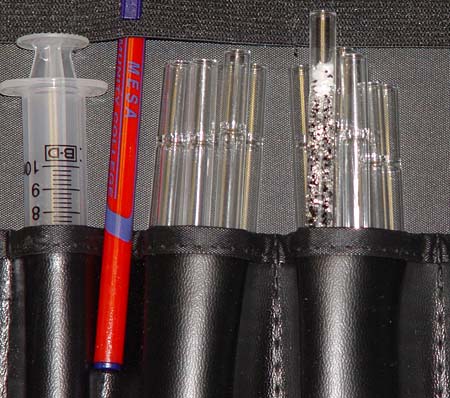
#3. Two empty test tubes: You will use these to collect purified water and the red cabbage extract.

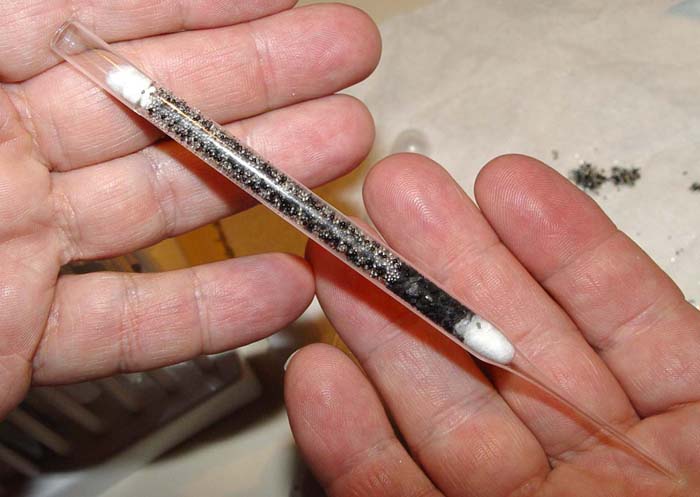
#4. Glass Pipette: A pipette normally comes with a dropper and is used to transfer liquids. Here we will use it as a miniature glass column (tube). We will pack it with the two powders above (ion exchange resin and activated charcoal).

These glass pipettes are probably the most dangerous part of the kit. They are made of glass and have a pointed end that if broken, will act at a needle. Be careful with them.

#5. Cotton swabs: In this experiment we will be pulling the cotton off of the end of a swab and using it as a plug in the glass pipette.

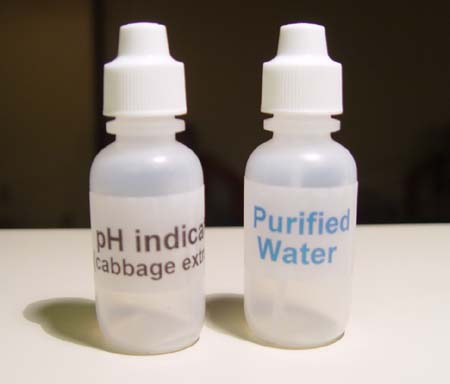
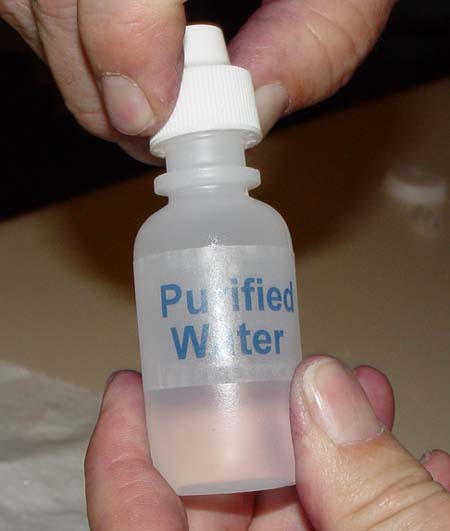
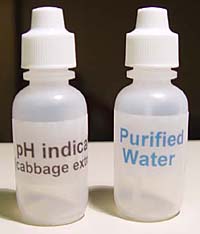
#6. Two plastic dropper bottles. One labeled pH Indicator (cabbage extract) and the other label Purified Water. In this experiment, we will purify the distilled water to make sure it really is pure and place it in the Purified dropper bottle.

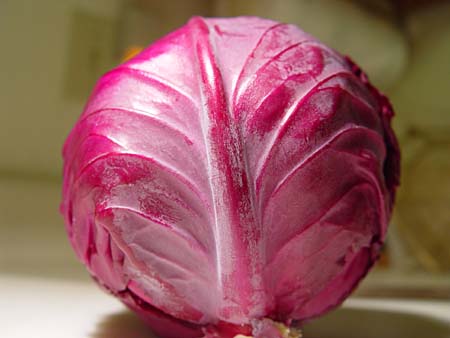
We will also be extracting the red pigment from the cabbage and placing it in the pH indicator bottle.

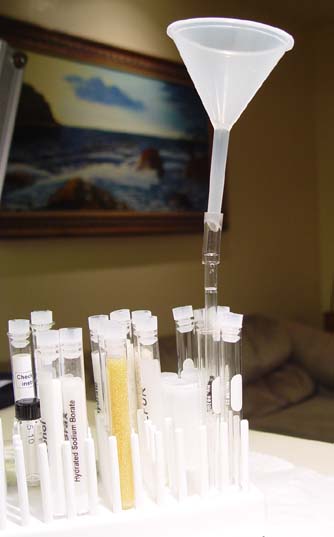
#7. Funnel with a 1 inch plastic connector. Your kit has a funnel and a small piece of plastic tubing pushed onto it (if it doesn't, cut 1 inch off of the clear plastic tubing in your kit).

The picture shows the plastic connector will be connecting the funnel to the glass pipette, which will sit inside of a test tube. The test tube is held by the white test tube holder.

#8. Plastic pipette. This pipette comes with a built-in dropper. Normally this pipette is used to draw up liquids into the bulb at the top and then squeeze out the liquid into some other container. For this lab we will mostly use its long thin portion as a plunger.
The Puried Water bottle has a nozzle on it. It needs to be removed. It's tight so use your fingernails or the microspatula in the kit. The nozzle may have a small tube attached to it. If it does, just pull the little tube off and discard it.
Instructions for part 1 of lab: Purifying water.
Get a cotton swab and start pulling some of the cotton off of the end (not shown), but then push some of this cotton into the wide end of the glass pipette (shown here). Push the cotton plug in as far as you can with the cotton swab. Now get the plastic pipette.
Use the narrow end of the plastic pipette as a plunger to push the cotton plug all the way down to the narrow end of the glass pipette.
To get the short plastic tubing connector to slide on easily, you must lubricate the outside end of the glass pipette to help the plastic slide onto it. Use a cotton swab and dip it in something slippery like hand lotion, cooking oil, liquid soad, etc. Try to put just a light coat of the lubricant on the outside of the top of the glass pipette to help the plastic tubing slide onto and off of it. I had one break when I didn't use a lubricant. It seems more apt to break when pulling it off. Even though the fit is also tight on the funnel, the funnel is made of plastic and won't break.
Here is a close up of the plastic tubing acting as a connector between the funnel and the glass tubing. What is nice is that it will make a water tight seal later when we use liquids. For now however, we car going to get some powder into the glass pipette.
Open the activated charcoal test tube and hold it over the funnel. Tap on the test tube gently and get some of the charcoal to drop into the funnel, which should go right into the glass pipette. You don't need much activated charcoal, just enough charcoal to have about 1 inch height. See next image below.

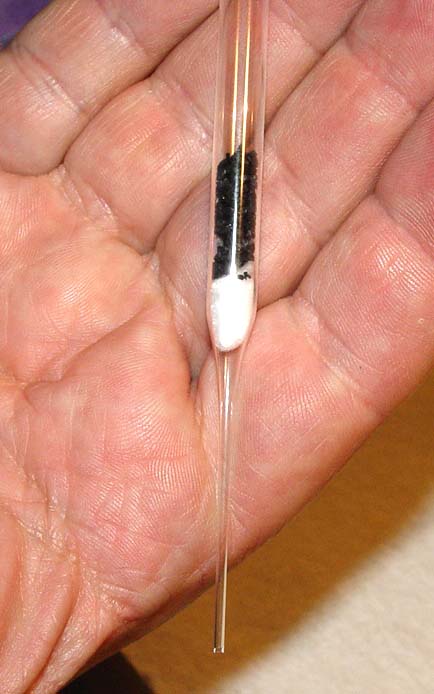
Here is the cotton plug holding back the activated charcoal.

Next we will place on top of the activated charcoal some of the ion exchange resin-deionizing type. It wouldn't really matter if the activated charcoal goes in before the resin or after it. The water passing through will go through both.

The Ion Exchange Resin-deionizing type is wet and is hard to pour. Tap on it to get some to fall into the funnel. You will probably use about one third of the resin in the test tube to fill the glass pipette.

Being wet, this resin will stick in the funnel. You will need to use the plastic pipette that you used to push in the cotton plug here as well.

(Take a picture at this point. See if you can set your camera to either 1600x1200, 1280x960, or 1024x768. If you own a 2 megapixel camera, just use the highest setting [3 stars].)

Here the plastic pipette is used as a plunger to push the resin down the funnel and into the glass pipette. (I promise later we will used this plastic pipette for what it was designed for; however, part of chemistry is learning how to improvise.)

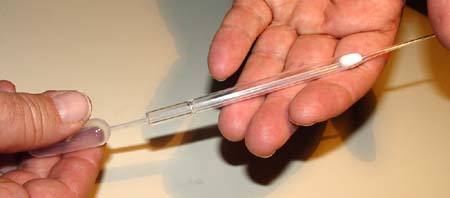
Once the glass pipette is full or nearly full, you can pull off the funnel and the plastic tubing connector. Warning: Don't pull real hard, it could break the glass pipette. If it doesn't come off easily, just leave the connector connected to the glass pipette and disconnect the funnel. You can make a new connector from the extra plastic tubing in your kit by cutting off a one inch piece.
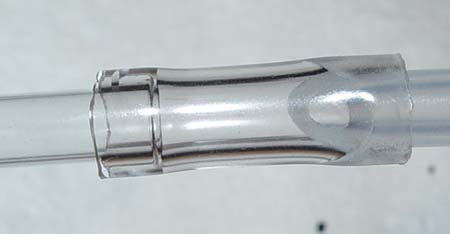
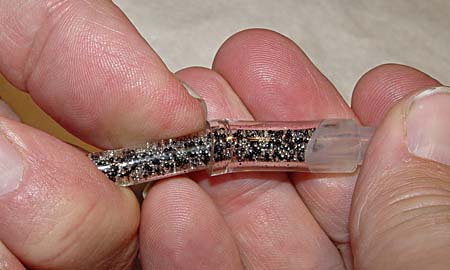
Here we see some extra resin in the connector. This can be discarded.

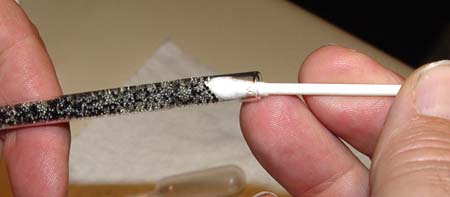
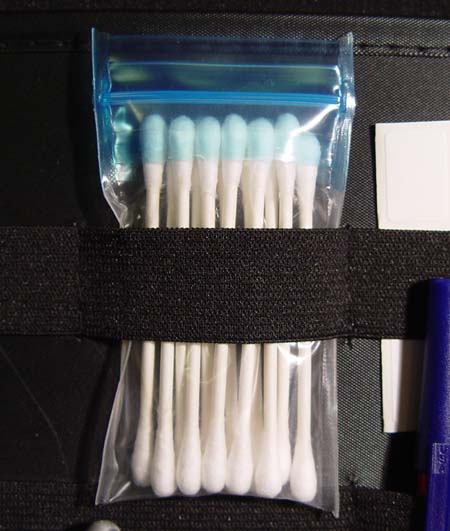
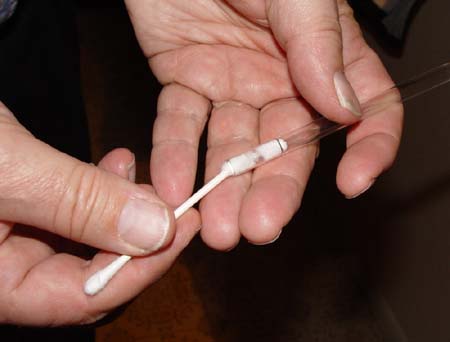
Use a cotton swab to pack the resin a little more tightly in the glass pipette. If it doesn't pack, use the cotton swab to rake out some of the resin to make room for a cotton plug at the top of the glass pipette.

Below is the finished glass pipette that is packed with activated charcoal and ion exchange resin, and with cotton plugs both top and bottom. It's OK if there's more resin causing the plug to be closer to the top. We now have a miniature purification column ready to purify water. (Take a picture of your final column) Yours may have the plastic connector still attached, which is fine.

Now pour distilled water (in a pinch you can use tap water) into your 50 milliliter (mL) beaker. Fill it to about the 40 mL mark.

Here the beaker is filled a little beyond the 40 mL mark, which is fine. The purified water bottle that we are filling only holds about 30 mL (1 oz)
Our packed pipette will be placed in a test tube that only holds about 8 mL (milliliters). So to keep from overflowing it, we might measure out approximately 6 mL in our small 10mL graduated cylinder. That way when we pour in the 6 mL of water into the funnel and it goes through the glass pipette (purification column) into the test tube, the test tube won't overflow.

Here you see our purification column is sitting in an empty test tube that is still sitting in the tray (for stability). After pouring the water into the funnel, you might notice that a bubble in the connector keeps the water from flowing. Use the plastic pipette again as a plunger to reach down to the bubble to dislodge it.

The water will then flow through the resin and activated charcoal, which will purify it. Be patient. It takes about 4 minutes for the water to pass through it. (Take a picture at this point)

After the water passes through our miniature purification column it will fill up the test tube about 3/4 full. The outside of our purification column (glass pipette) may be dirty from our handling of it. So the first 6 mL of water from the graduated cylinder that goes through the tube should be discarded. (It is good scientific practice to waste some material to ensure purity.) Pour another 6mL into the funnel.
Once the water drains from the funnel and gets into the test tube. Pick up the funnel with the connected glass pipette attached and move to another test tube. Take the test tube that collected the purified water and pour it into the Purified Water bottle.
Repeat the process. Fill the 10mL graduated cylinder to about 6 mL and pour it again into the funnel.
You will do this about 5 or 6 times in order to get enough purified water to fill the Purified Water dropper bottle.
Push the nozzle back onto the Purified Water bottle. Note: my fingers look red because I was handling the red cabbage for the second part of this lab. If the nozzle has a little tube attached, just leave it off.
Put cap on Purified Water bottle and you now have be more assured that the purity of this water is good. (This picture is a closeup, but now take a picture of yourself holding your full Purified Water bottle with your face visible in the photo.)
Our miniature purification column will be used again later in the semester, so be sure to save it. You can put it back in the pocket where the other glass pipettes are. Yours may have the plastic connector still attached, which is fine.
Your final task is trying to send me the pictures you took by email.
<-CHM-107Lab Home Page
Since Feb 23, 2004