
The first experiment addresses a critical part of science, which is to communicate clearly. Words like "big, small, heavy, and light" might be good enough for every day conversation but they can easily be misleading because they may mean something different to different people. In science you want to communicate so that everyone gets the right meaning. Measurement is one way to make yourself clear. Of course, that all depends if you can measure items properly. Experiment 1 gets you started with that skill.
The building of a ship like the Titanic involves thousands of measurements. They are all crucial to the integrity of the ship. Measurements are also critical to the operation of the ship. The tragedy of the Titanic can be attributed to a lack of attention to measurements.

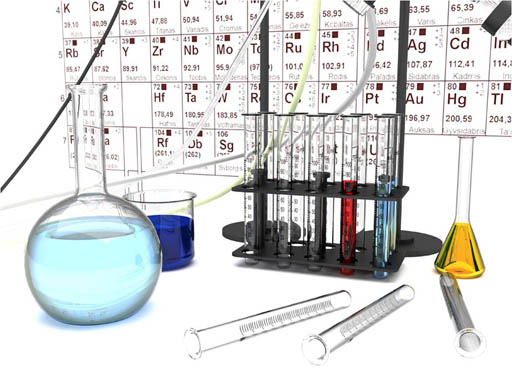
In this experiment "tools" mean meter stick, graduated cylinder, and analytical balance. These measure length, volume, and mass (weight). These tools let you communicate accurate facts about items such its size, volume, and mass. A lot can be learned from these simple measurements.

This means you try to get the most out of the tools mentioned above by being as accurate as possible. The words, "significant digits", mean being clear about its accuracy; neither underestimating or overestimating the accuracy. The words, "and unit", means don't forget to include the unit of measurement (its dimension). In math classes, you normally deal with abstract numbers like "5, 3, and 7.5"; however, chemistry deals with measurements, so "5, 3, and 7.5" are not good enough. You have to say 5 somethings, 3 somethings, and 7.5 of something. Writing "7.5" instead of "7.5 cm" is wrong because "cm" is just as important as "7.5"
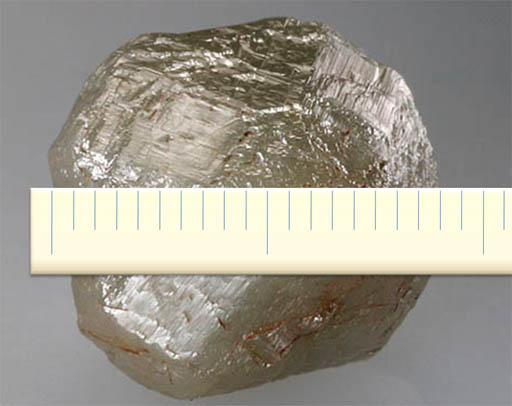
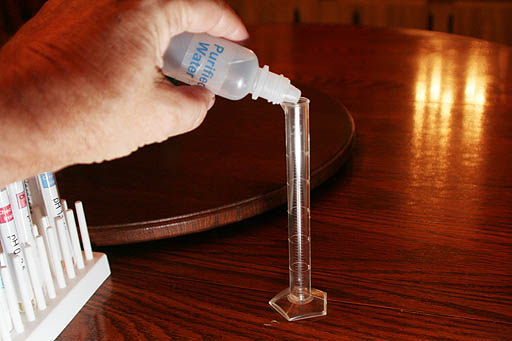
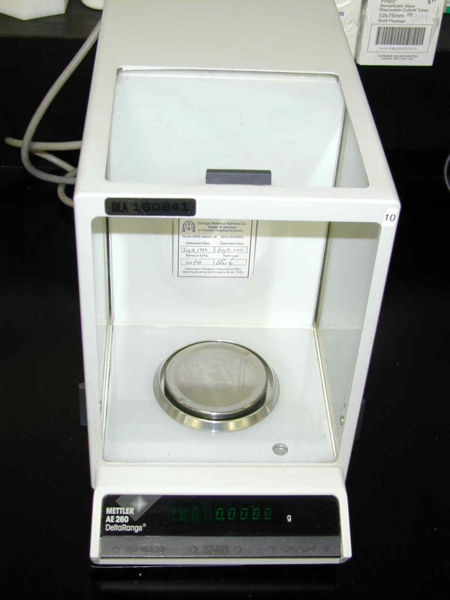
An analytical balance in this lab is capable of measuring to one thousandth of a gram or smaller. Let's say the digital display says "14.300". It would be a mistake to write that down as 14.3 grams because the analytical balance actually measured its mass to the nearest thousandth of a gram giving us 5 significant digits of accuracy. An $80 balance can measure 14.3grams, but it takes a $2,000 balance to measure 14.300grams. Going from 14.3g (3 significant digits) to 14.300g (5 significant figures) is increasing the accuracy 100 fold so don't drop these zeros. To get density we divide our grams by the milliliters. OK, so that is 14.300g / 5.8mL, which the calculator says is 3.4878049. Do we report our density as 3.4878049 grams per mL? No, because that would imply accuracy of 8 significant digits. When dividing or multiplying two measurements, the final accuracy is only as good as the least accurate value. So for "14.300g/5.8mL" the "5.8mL" has only 2 significant digits meaning we are only justified to use 2 significant digits in our answer. So 3.4878049g/mL would get rounded to 3.5g/mL. Hey that's pretty close to the pure diamond density of 3.52g/mL. So we may have a valuable natural diamond. Again, this knowledge comes from making accurate measurements and recognizing how accurate (how many significant digits) each measurement gives us. When we add, subtract, multiply, or divide, we also have recognize how accurate our final answer is (how many significant digits).
A tutorial on significant figures is in the lecture at this address: (click browser's back arrow button to return here)
Objective 3: Associate metric units with the quantity being used.
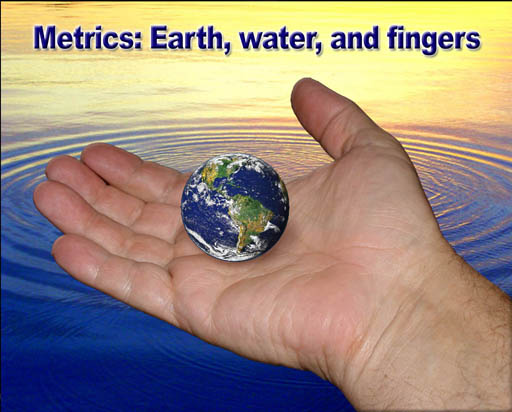
The metric system is one of the greatest inventions of mankind. Without a system that allows everyone to find agreement on measurements such as distance, mass, and volume, the advances in technology including modern manufacturing and trade would have been impossible. King Louis XVI of France was the one who ordered this new system in 1790. Seeing the beauty in its simplicity and ease of standardizing measurements, he declared "Metrics is for all people for all time." Metrics is based on the Earth, water, and the fact we have 10 fingers. Even George Washington and Thomas Jefferson begged the Congress to adopt a system just like the metric system. Unfortunately, Congress procrastinated, and we would were stuck with the English system.
Metrics is one of the lecture tutorials. You can visit it by following this link:
www.chemistryland.com/CHM130S.../Metrics.html


For a rectangular object, when you multiply by length (L) and width (W), you get the area of the top (or bottom) of the object. For example, here we have a length and width of 5 and 4 centimeters, which gives us the area of 20 square centimeters (cm2). If the height was one centimeter, each of those square centimeters are considered cubic centimeters giving us a volume of 20 cubic centimeters (cm3 or cc). If the height were 4 centimeters, then there would be 4 layers of 20 cm3 each. So by multiplying by the height, we get the total number of cubic centimeters of 80 cm3.
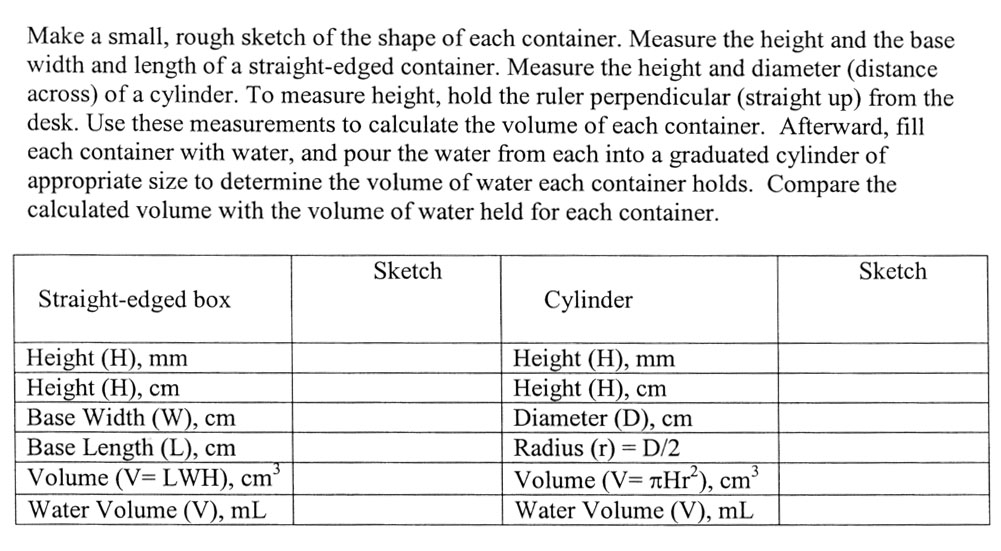
There's a tripping point with this section. did you notice that the height is measured in millimeters (mm) and in centimeters (cm)? In order to get cubic centimeters, each measurement has to be in centimeters. In other words cm3 is "cm x cm x cm". So be sure to convert mm to cm. The quick way is to move the decimal one place to the left. Let's say the height was 38mm. That would be same as 3.8cm because centimeters are 10 times larger than millimeters. Here is a method you will use for more complicated conversions.
38millimeters x 0.001 x centi = 3.8 centimeters
milli 0.01
Notice that to go from millimeters to centimeters, we need to cancel milli and introduce centi. "milli" equals 0.001 and centi equals 0.01, so we set up fractions so that "milli" cancels and "centi" ends up on top. Notice the fractions 0.001/milli and centi/0.01 equals "1". So we are essentially multiplying by 1 so the size of 38millimters is not changing. We are simply changing the label to centimeters. You will see much more of this method as you study more chemistry. It's called label-factor method or dimensional analysis. The lecture has a tutorial on this method. You can get to it with this link:
www.chemistryland.com/...DimensionalAnalysis.htm


B. Length:
The device in the picture on the left makes measuring height easy. You'll have to be more creative when using just a meter stick.
The exercise asks height in meters, centimeters, millimeters, and inches. You could make the height measurement four times, or you can measure it once with one of these and then convert that unit to the others. Let's say this girl is 170.2 centimeters tall. How do you get it to the other units? Once you are familiar with the metric system, you can do those in your head. Until then, here's the method shown earlier.
170.2cm x 0.01 = 1.702m
centi
1.702m x milli = 1702mm
0.001
1 inch = 2.54 cm exactly
170.2cm x 1 inch =67.01 inches
2.54cm
Notice all of these are setup to cancel or add units as needed. Just be sure the conversion fraction has numerator and denominator of equal values (1 inch=2.54 cm).

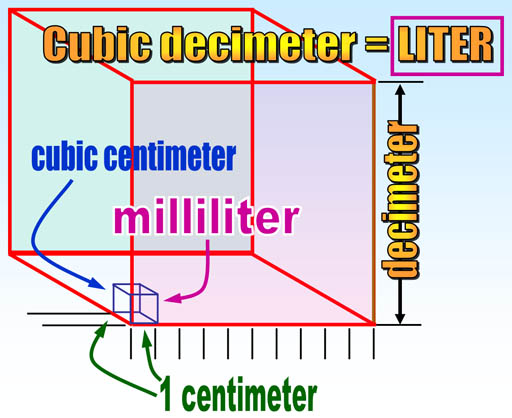
Note that volume in the metric system comes from the length of the meter. One tenth of a meter (1 decimeter) made into a cube is called a cubic decimeter which was given the name "liter". A cubic centimeter is a thousand times smaller than a liter, so it is called a milliliter (milli=thousandths). So it's fairly easy to visualize the size of metric volumes. For example, 4 liters could be a box 1 decimeter by 1 decimeter by 4 decimeters. In centimeters that would be 10cm x 10cm x 40cm. English units of volume like pints, gallons, or teaspoons, have no easy way to know their actual dimensions. For example, a gallon is a cube 6.13579 inches on each side. There's no rhyme or reason with English units and no way to remember these conversions.


a. Number of drops in one mL.
The reason to hold the dropper vertically is to get drops of consistent size. Tilting the dropper will cause drops of different size (and volume).
Because water molecules have such as strong pull on each other, they form drops easily. Other liquids like alcohol or oil have more difficulty forming drops, so what you discover about the count of drops with water doesn't apply to other liquids.

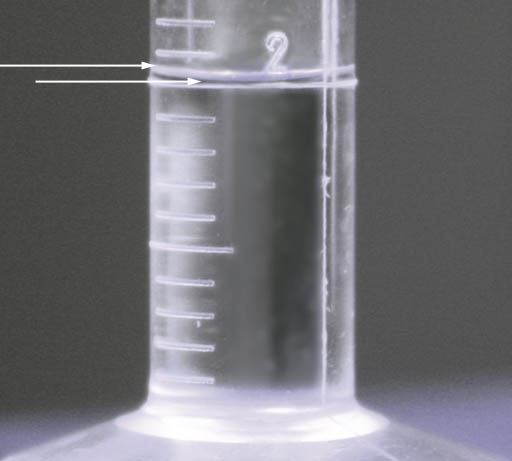
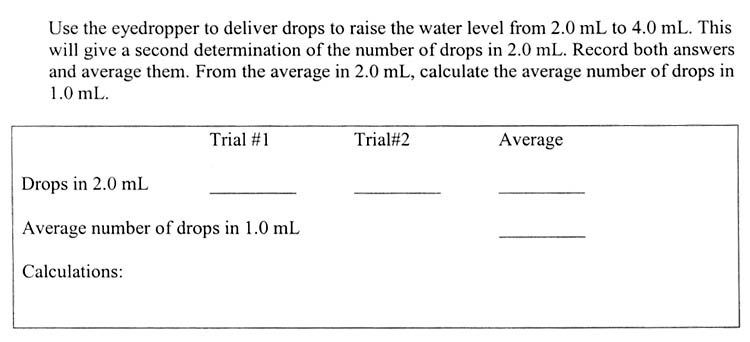
So you are first going to count the drops to bring an empty 10 milliliter graduated cylinder up to 2 mL of water and record that count as Trial#1. Then you will count the drops needed to bring the water level from 2mL to 4mL. Record that number as Trial#2. To find the average, just add them together and divide by two. Remember that answer is average drops it takes to make 2.0 mL. The next line is the average number of drops in 1.0 mL. That's easy, just divide the average by 2, to get drops in 1.0 mL and you're done.
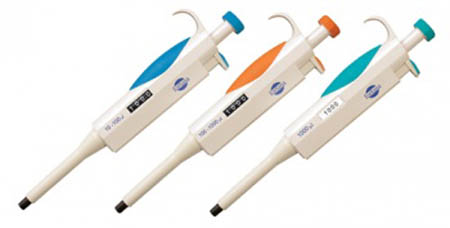
You might be asking, why are we doing this exercise? Well, counting drops is a quick way to measure small amounts of liquid. For example, let's say you come up with 30 drops of water per 1.0 mL. That means if you needed one tenth of a milliliter, you could simply use 3 drops to get that tenth. Or you can spend a couple hundred of dollars to get a micropipette that can measure a tenth of a milliliter. Now you know why counting drops is a good idea.

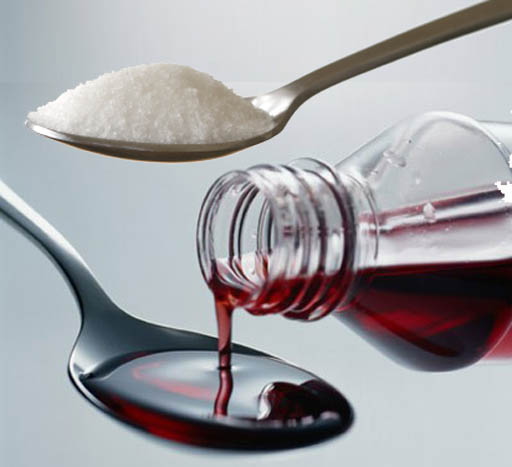
A teaspoon is an odd measurement. Originally a teaspoon was used just for stirring tea. Later it became a volume measurement that was 1/3 of a tablespoon. With liquids a teaspoonful is simply filled to the brim. With solids, you can go over the brim. So there are heaping teaspoons and level teaspoons. Since this activity is with a liquid, then it's filled to the brim, which is basically a level teaspoon.
You might realize there are at least a couple of ways to approach this. You can fill the spoon with water and then pour it into a graduated cylinder. Or you can start off with a known amount in the graduated cylinder, and use the cylinder to fill up the spoon. The amount the water level went down in the graduated cylinder is how many milliliters a teaspoon holds. You can also look up the number of mL in a teaspoon on the Web, but that takes the fun out of proving it to yourself.
As you will learn later in this experiment, you can repeat the measurement to get more accuracy.
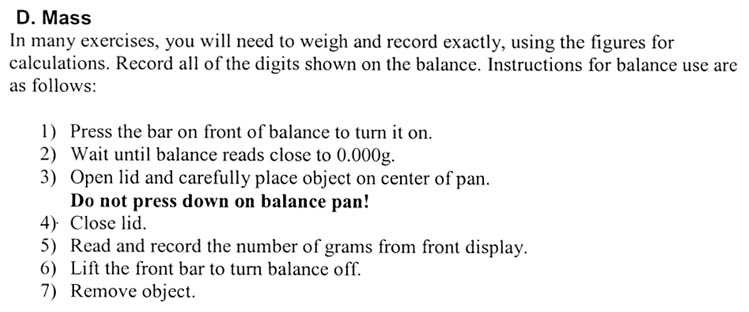
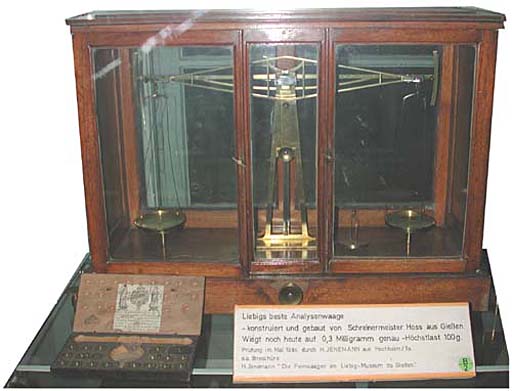
For a few hundred years, the analytical balance looked like the one in the picture. The item of unknown weight would be put on one of the pans, and small cylinders of known mass would be added to the other pan until it balanced. The small case on the bottom left held these small brass cylinders. It could take several minutes to weigh something. After balancing, you would have to add up the mass of all the little brass cylinders you used to balance the mass of the unknown item.
Modern digital balances make weighing very easy. There's just one pan to place the item on. You don't need to have a box of known masses to balance out the weight of your unknown. The balancing is done automatically and internally. Plus readout is directly in grams with 3 or 4 decimal places.

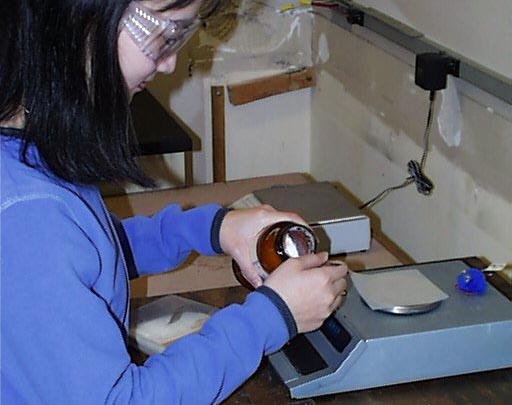
This is a common sense type of warning. Weighing paper not only protects the pan from corrosive chemicals, it also makes it easier to pick up the powder after it is weighed.
Weighing paper has a smooth finish so that powder doesn't stick to it.
A weighing boat is similar except it has a lip around it to keep powder from spilling.
There are two reasons not to put hot objects on the balance pan. First a hot item can damage the pan. Second, the air around the hot item warms up and then gets pushed up by the cooler room air. This causes air currents around the balance pan, which causes the gram readout to fluctuate.
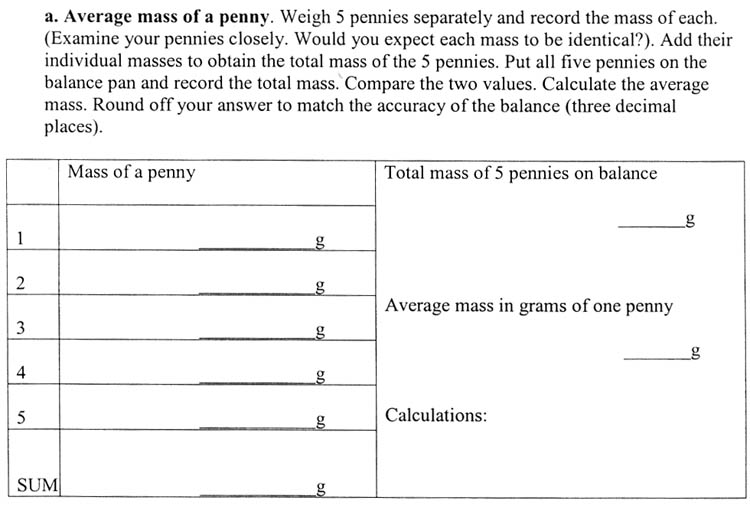
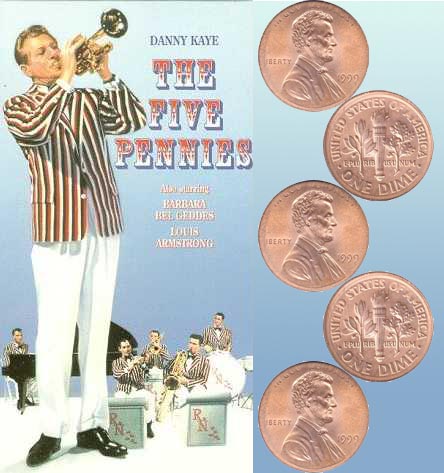
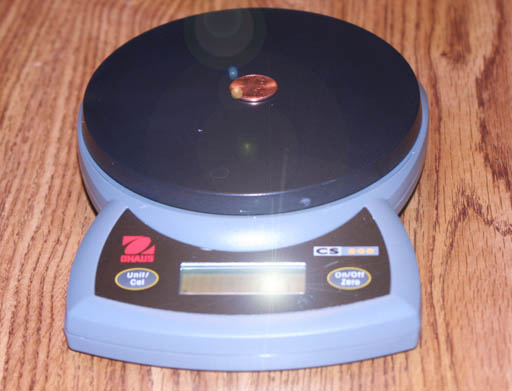
Average weight of a penny.
This is an interesting comparison between the accuracy of measuring 5 items separately or measuring the 5 items as a group (not a musical group like in the movie). In general measuring the 5 items all together would be quicker and reduce the chance of error, plus reduce any accumulation of inaccuracies. For example, if the balance has tendency to round up for each measurement, doing them separately and then adding up their masses could be higher than just weighing them as a group.
Warning: The weight of the penny has changed over the years. If you use a penny that has a date before 1982, it is 24% heavier than pennies made after 1982.
Significant digits: Let's say one of your pennies weighs 2.527 grams. You have 4 significant digits of accuracy. Let's say you added up 5 pennies and get 12.654 grams. That has 5 significant digits. You have gained some accuracy by repeating the measurements and adding up masses. To find the average, divide by 5. The calculator says 2.5308000. The accuracy of division or multiplication is only as good as the number with the least number of significant digits. 12.654 g has 5 significant digits and "5" looks like only one. However, 5 was not a measurement. It was a count, which is exact. So your final answer will have 5 significant digits, which would be 2.5308 grams (remember the grams). If you had weighed 3 pennies, the total would have been under 10 grams, so the accuracy would be only 4 significant digits because it would have stayed under 10 grams.

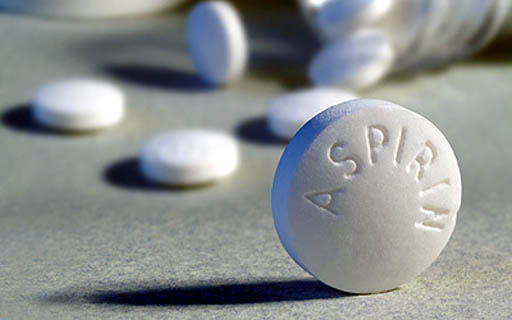
b. Average mass of an aspirin tablet.
At this point you may feel you need an aspirin, but don't be tempted to take one.
Like the pennies, you weigh them separately. Add up their weights and divide by three to find average.
Weighing them separately gives you more practice at using the analytical balance. When you don't need the practice, I'd say just place them together and weigh them. Divide by three and then you'd have the average mass. Be sure to report the average to the correct number of significant digits. That will depend on the digits in the total mass. Don't forget to show the units of grams, or it's wrong.
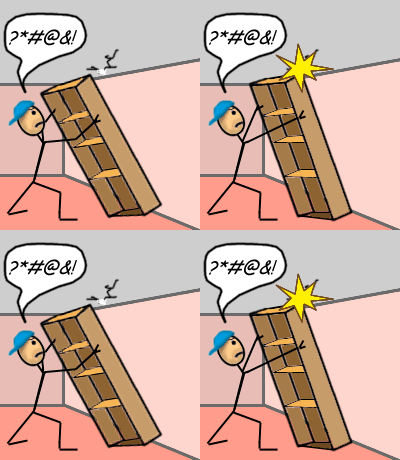
Doing measurements correctly can make people happy or sad. Imagine telling a carpenter the height of your ceiling was 8 feet and you want a floor-to-ceiling bookshelf. He builds it based on your measurement. When installing it, he finds out that your ceiling is lower than you said. You either didn't use enough accuracy or measured it incorrectly. Either way he is cursing. You both would have been happier if you measured it correctly and reported the accuracy of your measurement.
So in future labs remember measuring is your second most important task. Safety is first. Of course, sometimes measuring incorrectly can jeopardize safety. So value these measuring skills and put them to work.
For additional instruction on measurement, visit the measurement tutorial in the lecture class:
www.chemistryland.com/.../Measuring.htm