Highlights from the Crime
Scene Investigation Demonstration|
Photos From Ken Costello's CHM13O class (Nov. 23, 2004)
Photos From Ken Costello's CHM13O class (Nov. 23, 2004)


|
Highlights from the Crime
Scene Investigation Demonstration|
Photos From Ken Costello's CHM13O class (Nov. 23, 2004) |
|
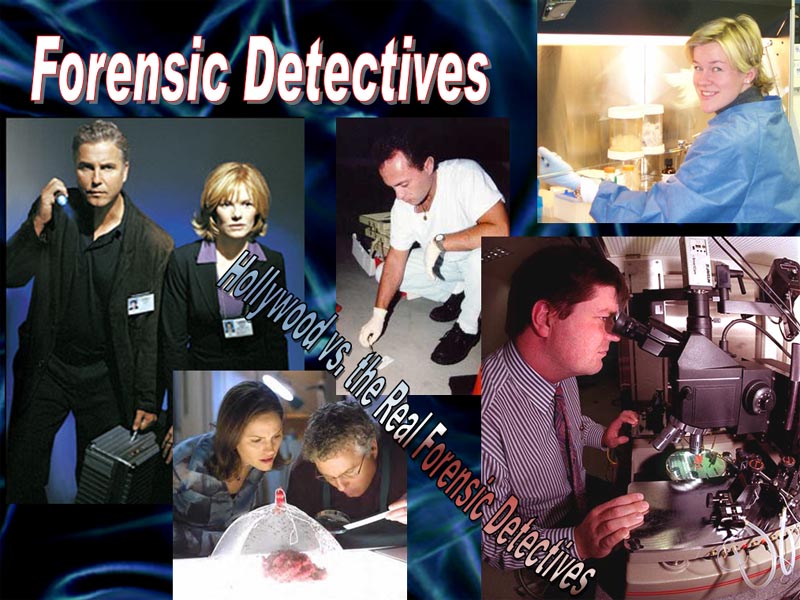
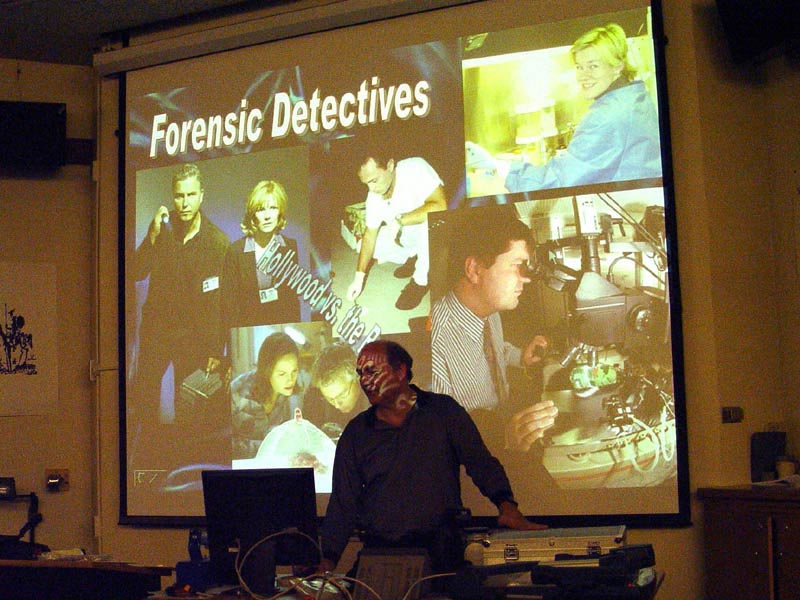
| I started with a PowerPoint slide that compared Hollywood's version of crime scene investigation with real forensic detectives. However, instead of continuing with the PowerPoint, I said I think we need a real crime scene to investigate. So I was going to leave and let a real criminal come in to burglarize the classroom and rob some of the students. |
|
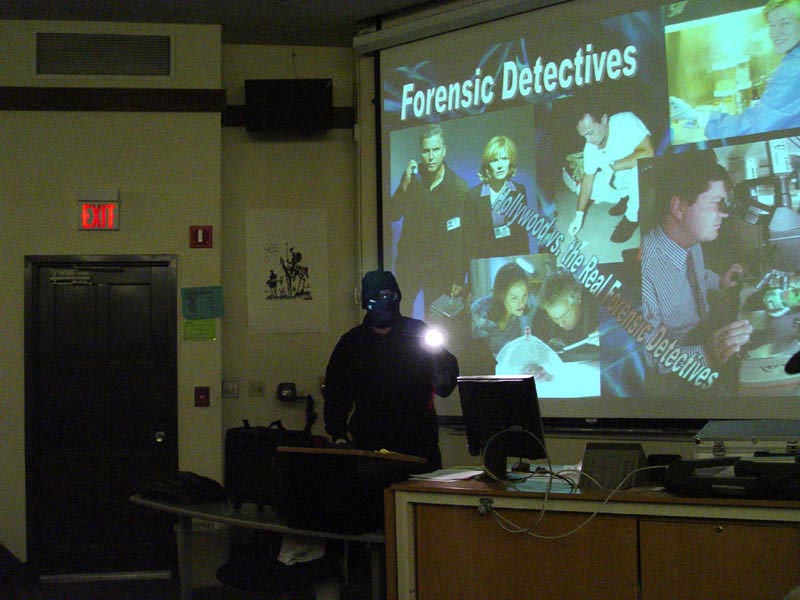
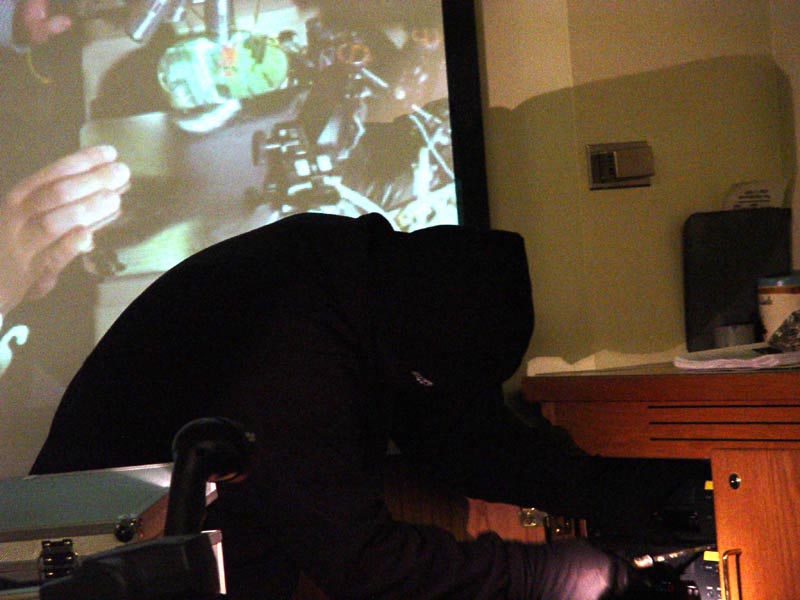
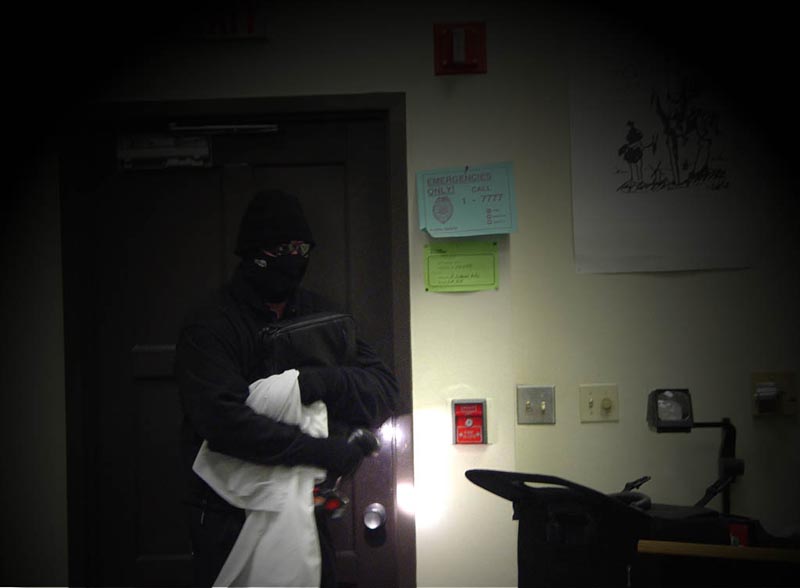
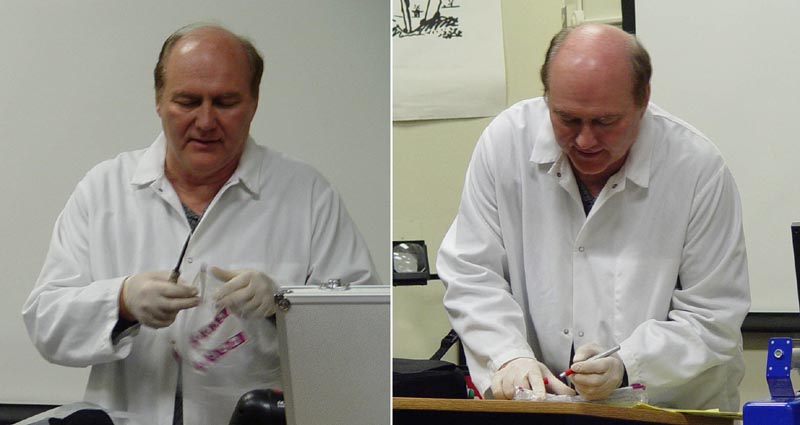
| I returned shortly in disguise with flashlight in hand plus a bag of tools. |
|
|
| I turned the lights down low to stay stealthy. |
|
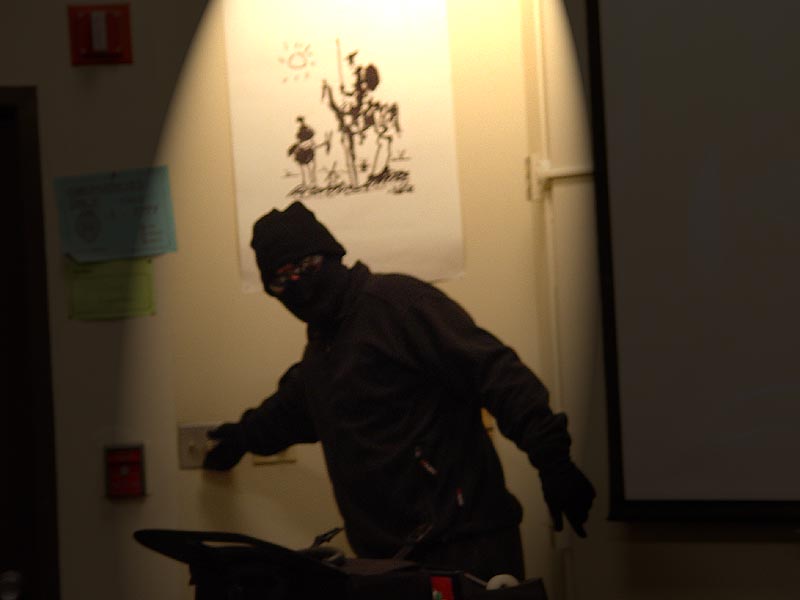
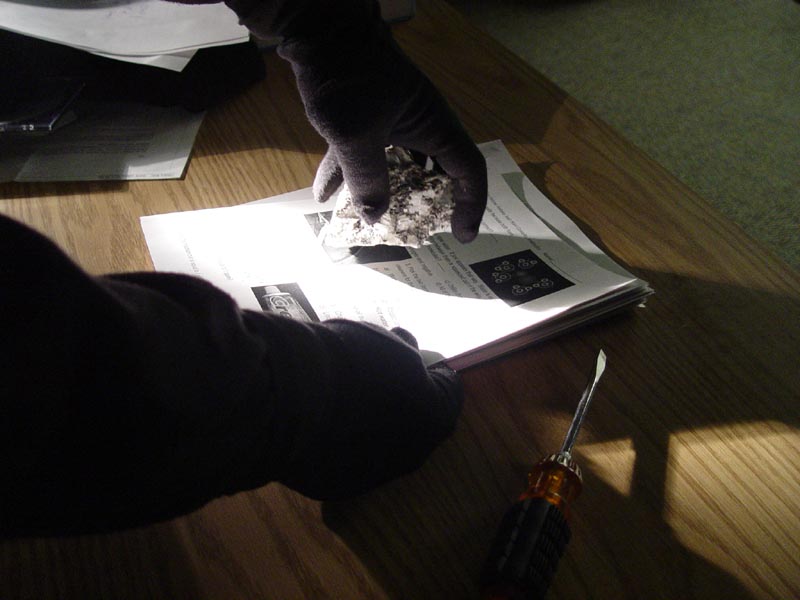
| On the cabinet the criminal picked up a rock paper weight from a stack of tests. He figured he could sell copies of the test. |
|
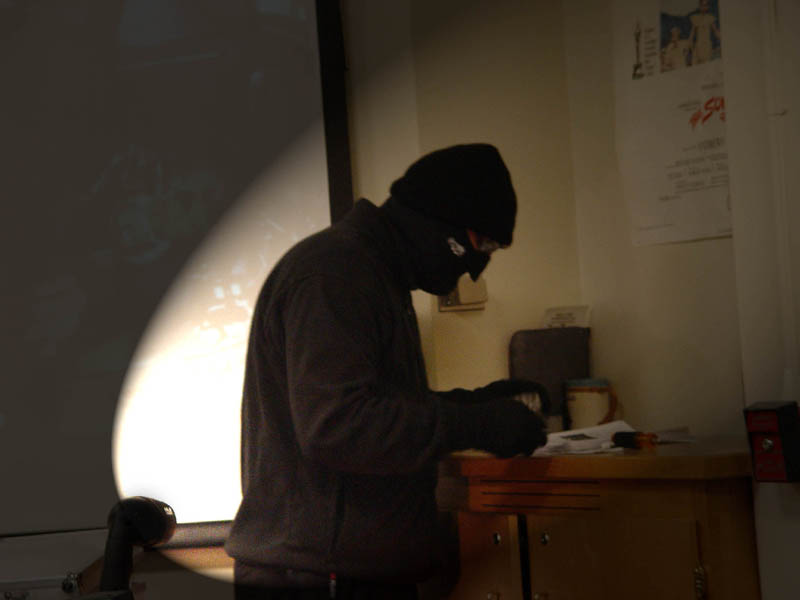
| Little did he know that this rock was fluorescent and that his gloves were picking up some of the fluorescent mineral in the rock. Next he used the screwdriver to pry open the cabinet. |
|
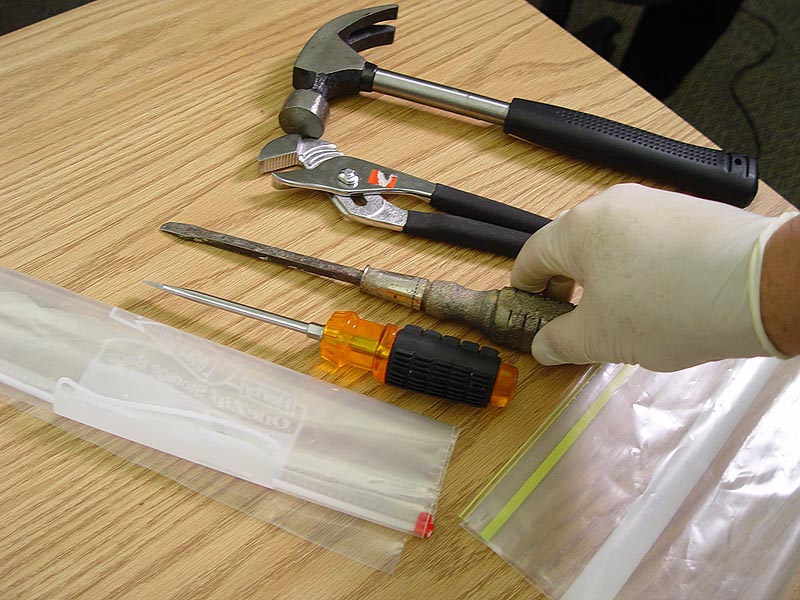
| Besides a couple of screwdrivers, he also used a hammer. Not shown is when he used some channel locks to try to break a door knob to the room in the back of the classroom. |
|
| Here he's about to leave but before he did, he got a student to write down her bank account on a piece of paper. He tore off the number and kept it. Because his cap would mess up his hair, he got another student to place her comb in an envelope and give it to him. Shortly after he left, I came in as the crime scene investigator. I said the suspect was nabbed and we had collected some of the items he was carrying. |
|
| He had the slip of paper that had the bank account number. The student still had the other part of the torn sheet of paper. This made a perfect "physical match," a strong piece of evidence. If the criminal had taken the complete sheet, I talked about doing ink comparison using chromatography. |
|
| Above were some of the tools found on the suspect. I pointed out that the old screwdriver could be good evidence because it had a broken tip and probably many unique imperfections on the tip. The toolmark made on the cabinet could be matched up to the test toolmarks that would be done with the screwdriver in the lab. Test toolmarks are done on lead. The channel locks could also be tested to see if the match the toolmarks on the doorknob. |
|
| I also demonstrated the proper way of packaging and preserving evidence. And just as important is the proper marking of evidence to maintain a chain of custody and to allow for identification of items later in court. |
|
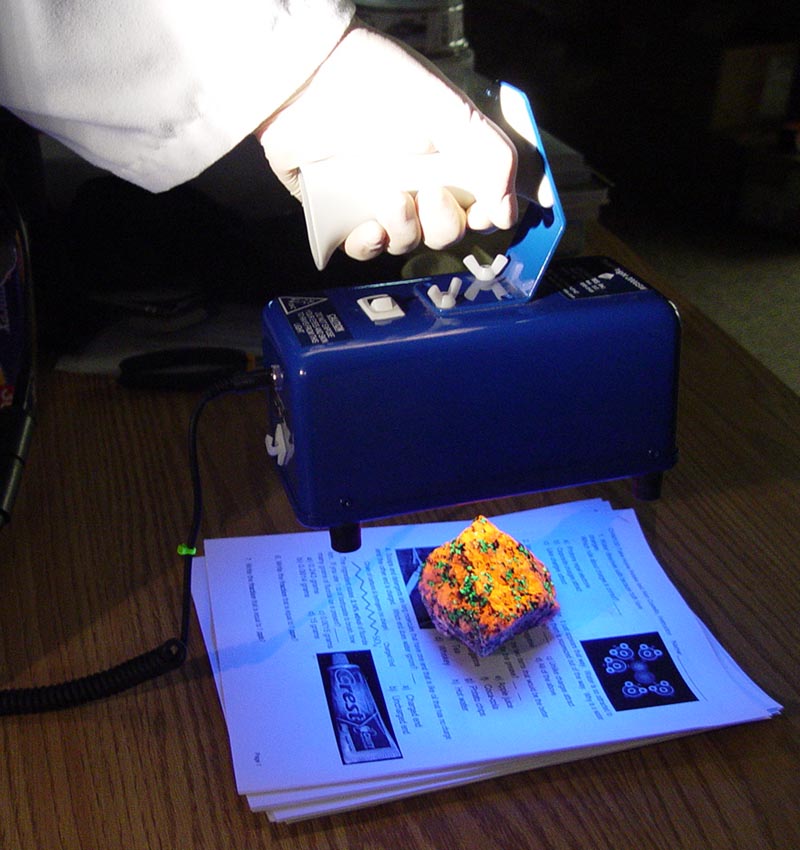
| With a portable UV light, I showed the class that the rock paperweight was fluorescent and the materials could have rubbed off on the suspects gloves. |
|
| Sure enough the gloves showed evidence being in contact with the fluorescent rock. Another good piece of evidence. A second rock not shown accounts for the green fluorescence. |
|
| After more discussion of what makes good evidence, I proceeded with the PowerPoint presentation. (note: below are 17 of the 90 slides shown) |
|
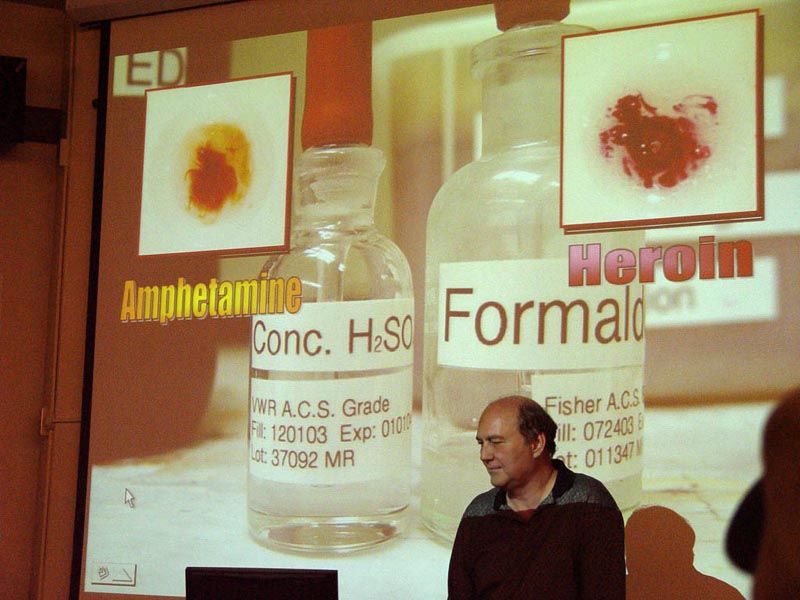
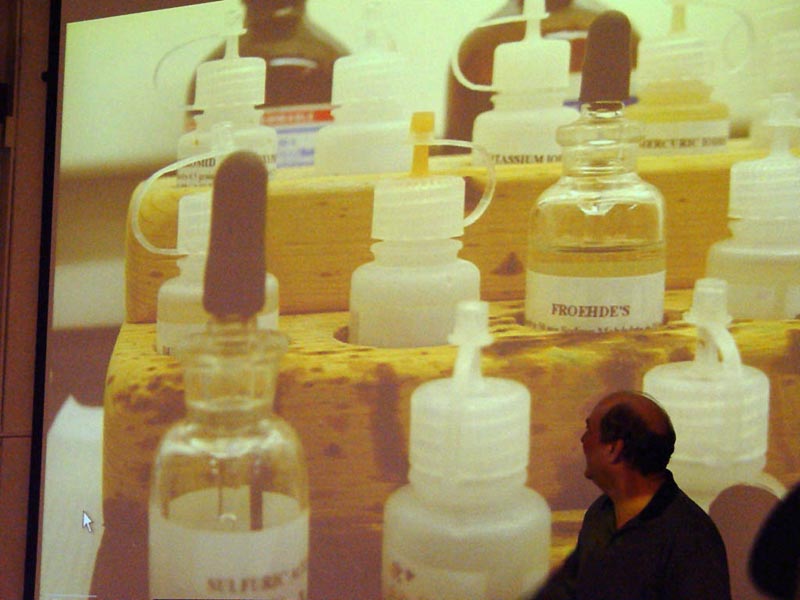
| Since I had been the supervisor of the Phoenix Crime Lab, I started with the tests I had done thousands of times. I introduced them to the Marquis Reagent which is good for screening amphetamine and heroin. |
|
| I mentioned the other types of screening reagents for different types of drugs. |
|
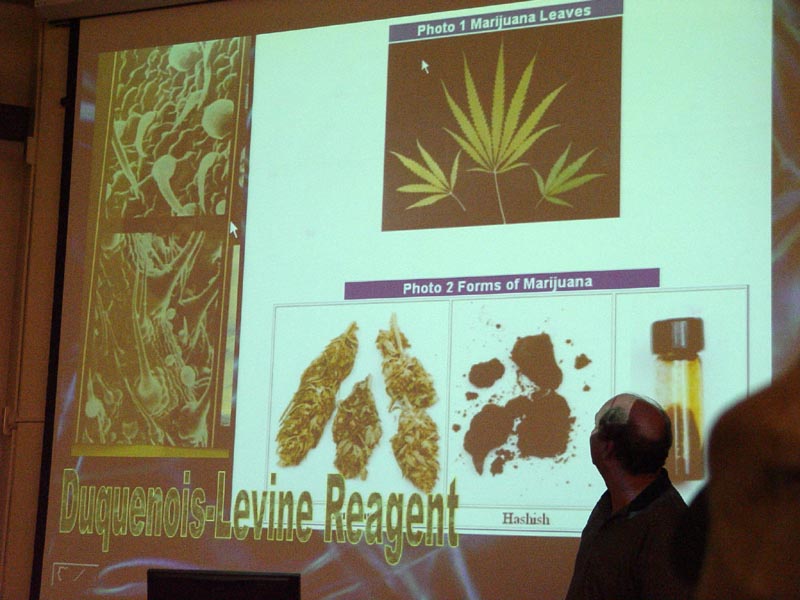
| Of course there was the ever present marijuana cases. Identification began with a microscopic identification of the unique hairs that grow on the under side of marijuana leaves. I also went into the chemical testing of the active ingredient of marijuana, tetrahydrocannabinol. |
|
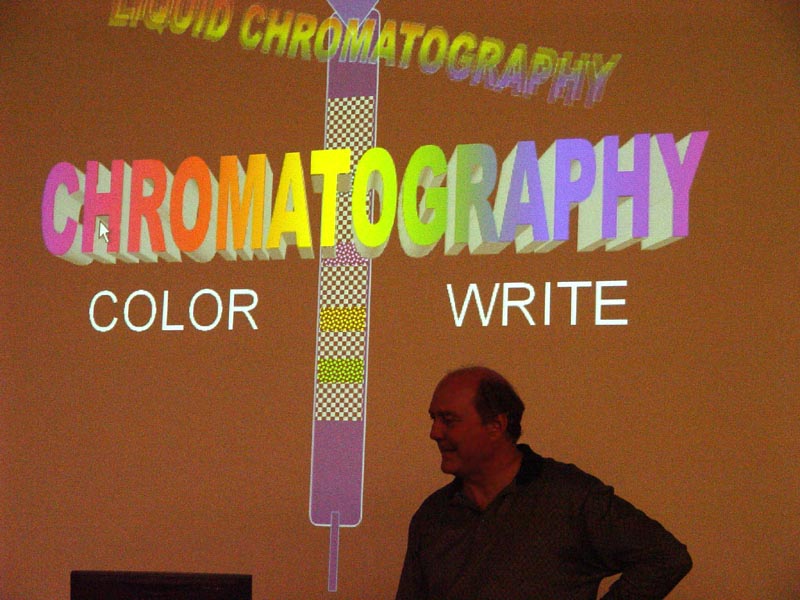
| Using PowerPoint animations, I showed the concept behind chromatography. |
|
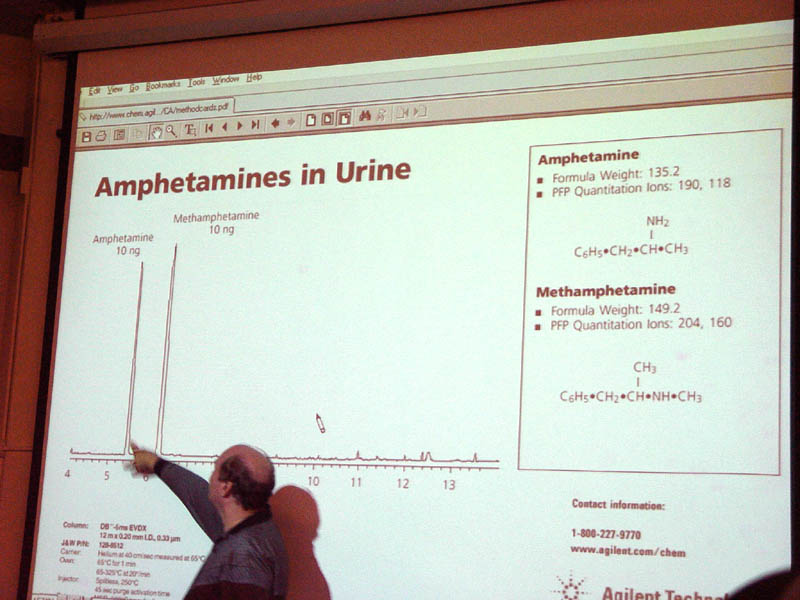
| A readout from a GC-Mass Spec showed application of gas chromatography. Structural formulas and formula weights provided reinforcement of what students were learning. |
|
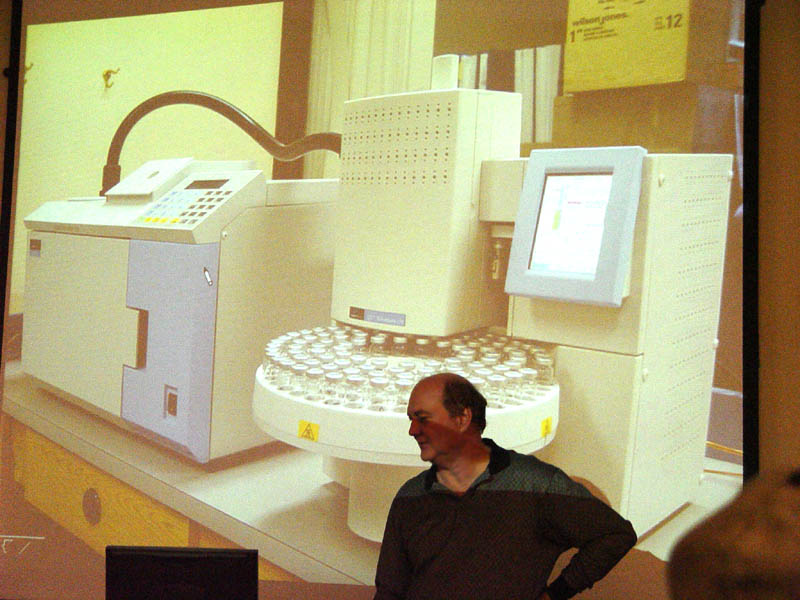
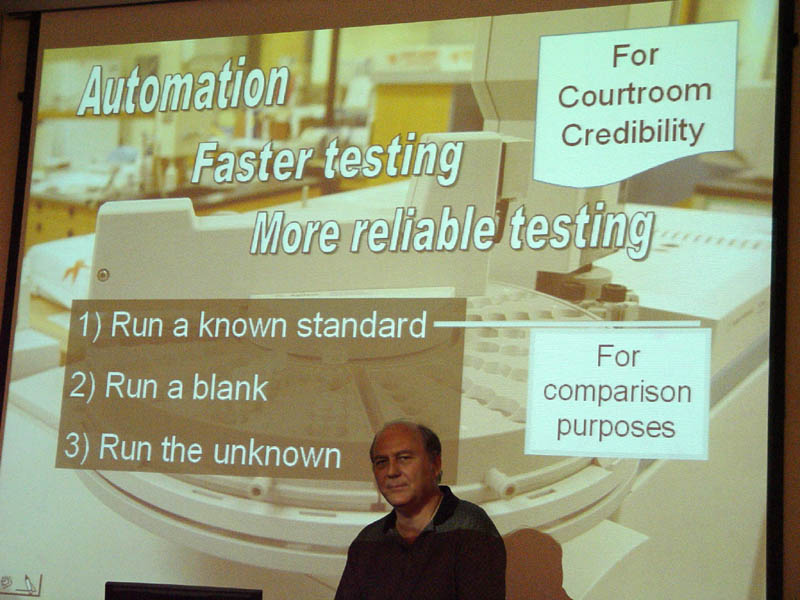
| This Perkin-Elmer Gas Chromatograph had an automated headspace sampler for testing blood samples for DUI cases. |
|
| For results to be credible in court, their approach of running standards, blanks, and then the unknown for each sample increased the integrity of the data. These are good laboratory practices. |
|
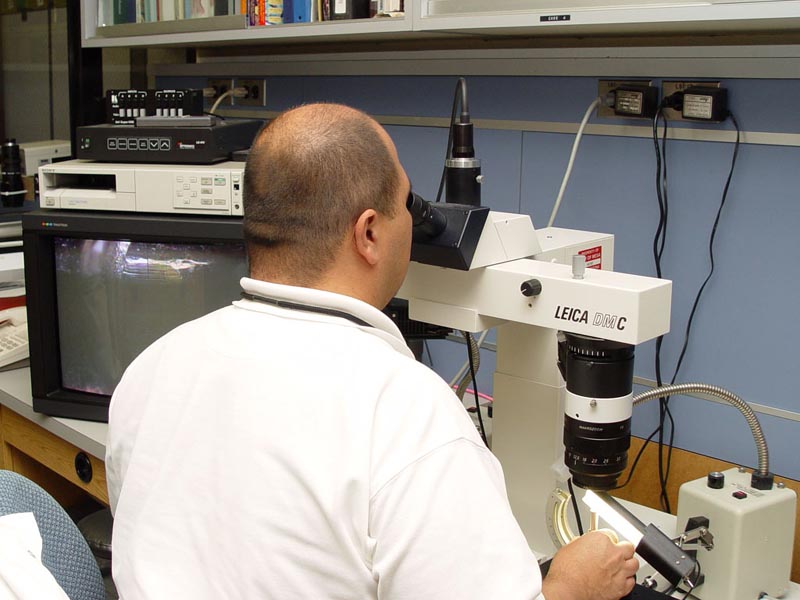
| Equipment needed to investigate the mock crime was the comparison microscope. It would be used for comparing the toolmarks from the screwdriver and the channel locks. |
|
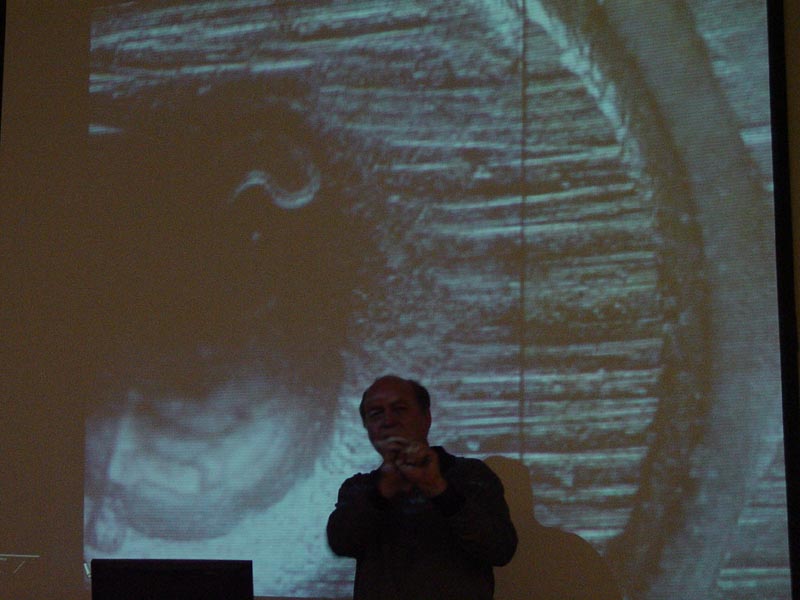
| The same scope does bullet comparisons and shell casing comparisons. I'm explaining how the recoil of the shell casing causes an the shell casing to make an impression of the breech wall. |
|
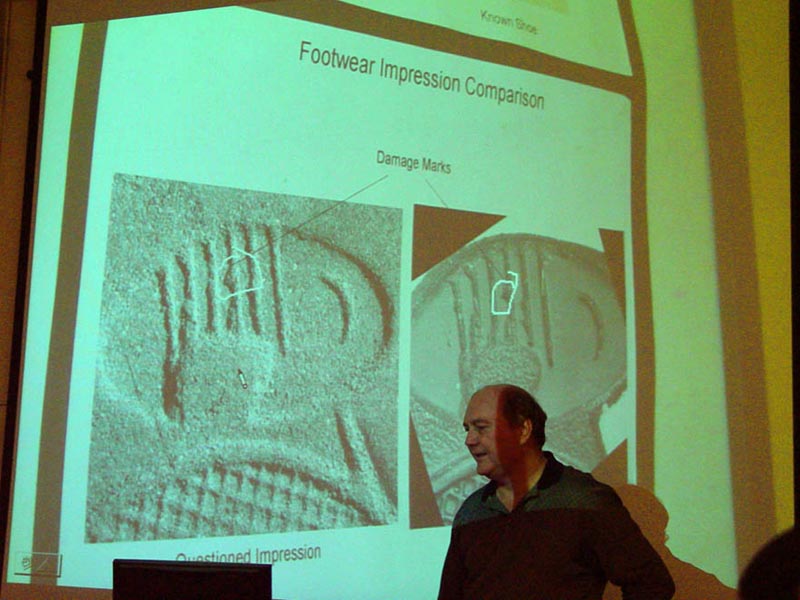
| Shoe print comparisons were also brought up during the mock crime scene. |
|
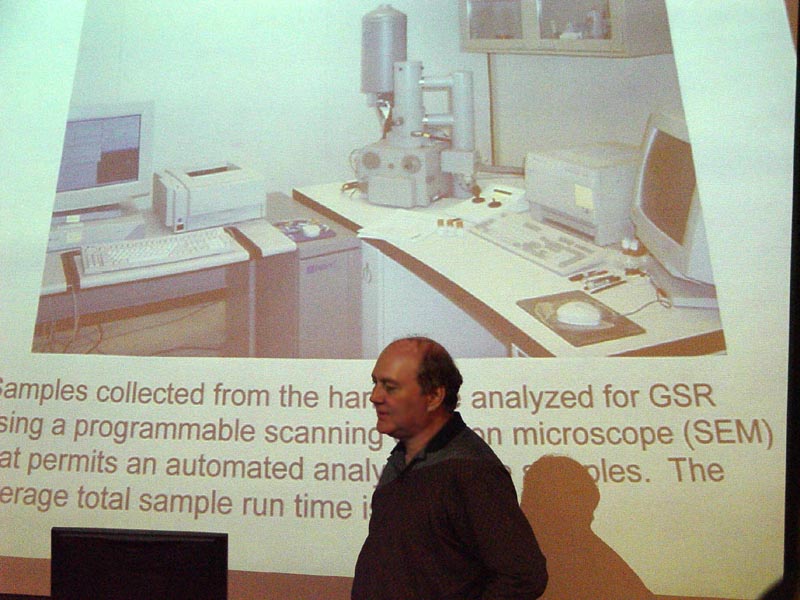
| Here I talked about the new way of identifying gunshot residue (GSR). When I worked there, I used atomic absorption spectrophotometry to identify traces of barium, antimony, and lead. Now the lab has a scanning electron microscope with xray analysis capabilities. |
|
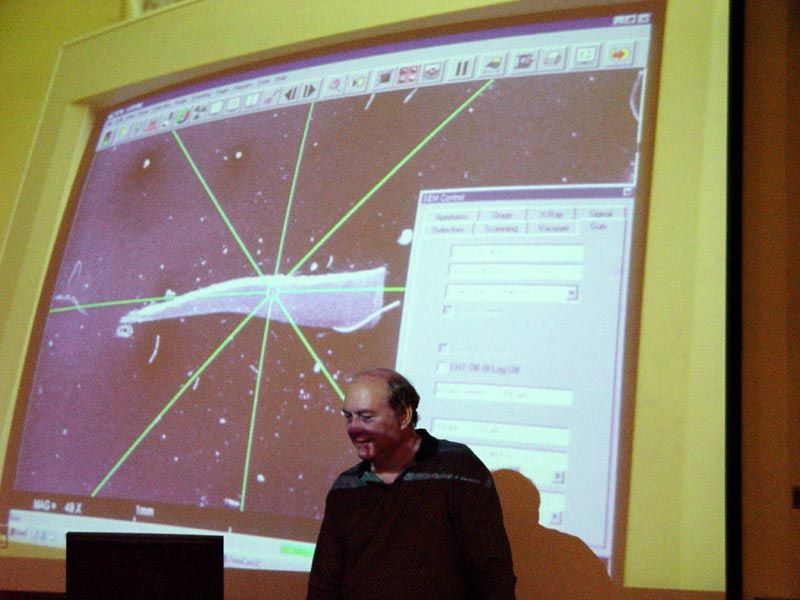
| I'm showing the visual screen of the one at the Phoenix Crime Lab. It has targeted a small sliver. I also explain that electron beams creates the image but also in the process emit xrays. Analysis of the xray frequencies can identify the elements present. |
|
| In moments, it identifies the elemental makeup of that sliver as copper and even uses the Periodic Table to show it. |
|
| Here I was talking about a murder case with mysterious white particles showing up amidst the gun powder burns. The particles turned out to be a cushioning coating used on the inside of the shotgun shells. |
|
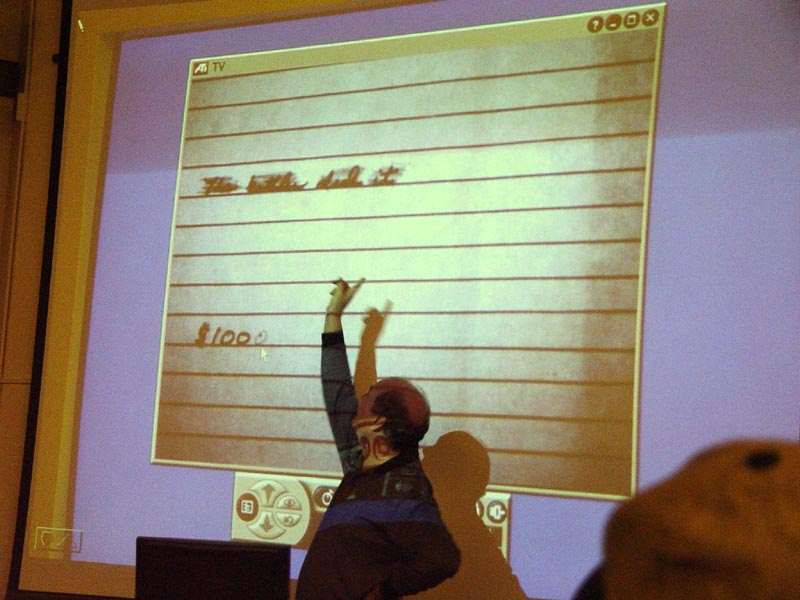
| A little bit of filter magic was shown when writing that had been obliterated by a black pen appears when the correct filter rendered the top ink invisible. The $100 was shown to be changed to $1000 dollars by that same pen. |
|
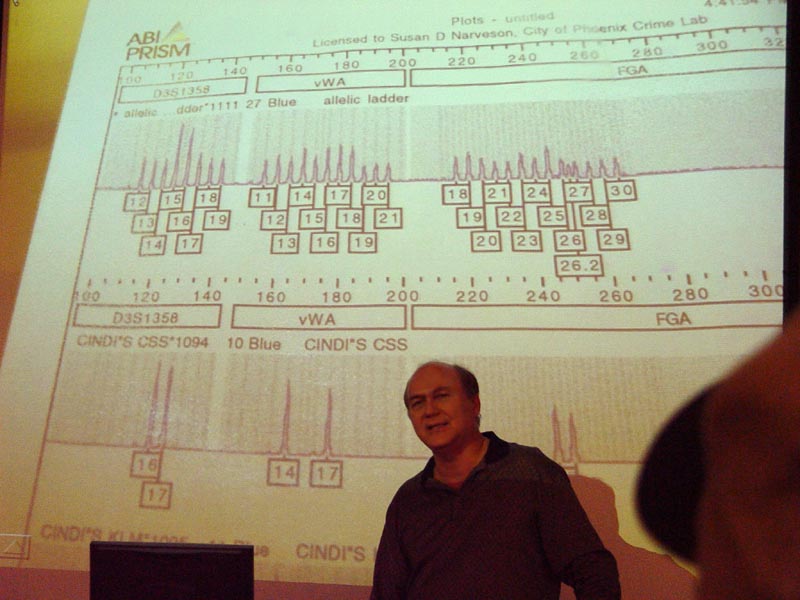
| Of course there had to be discussion about DNA analysis. |
|
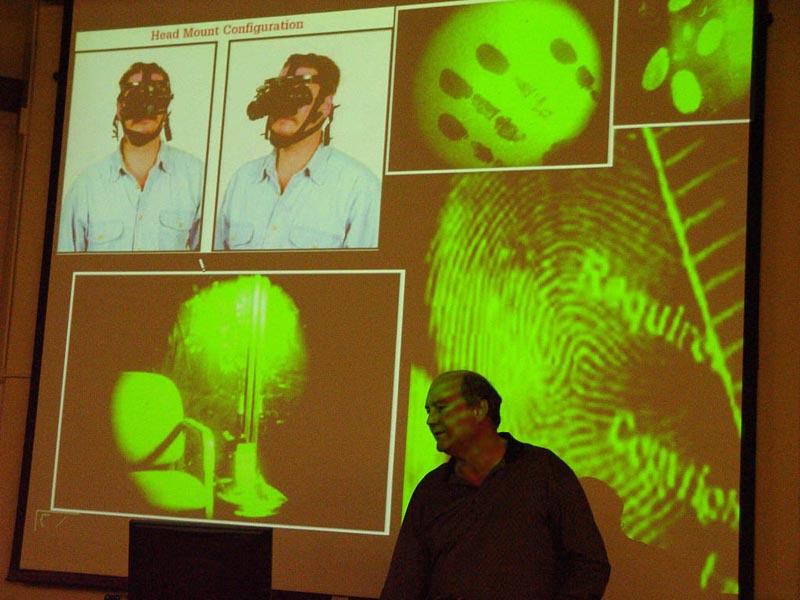
| A new high tech tool was these goggles that made fingerprints visible. No more brushing fingerprint powder all over the place. |