Experiment #1:
Air We Breathe at Home and in our Automobile.
Capturing particulates in the air
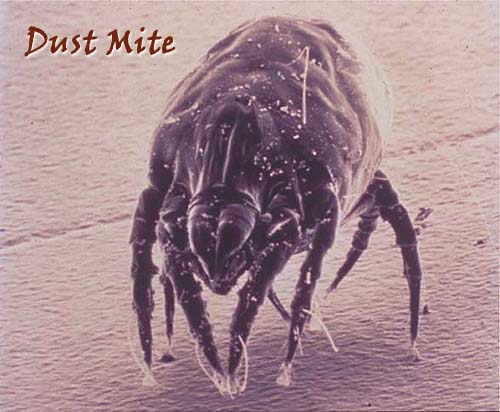
The air in our homes contains numerous particulates (particles suspended in the air). Below are some plus their size in microns. A micron is 1 millionth of a meter. Anything under 10 microns is not visible to the eye. By the way, dust mites live in your bedding and pillows. They eat the flakes of skin that you shed.
Human Hair .................(70 - 100 microns)
Pet Dander ..................(0.5 - 100 microns)
Pollen ...........................(5 - 100 microns)
Spores from Plants ....... (6 - 100 microns)
Mold........................... (2 - 20 microns)
Smoke ........................ (.01 - 1 micron)
Dust Mite Debris ........ (0.5 - 50 microns)
Household Dust .......... (.05 - 100 microns)
Skin Flakes ...................(0.4 - 10 microns)
Bacteria....................... (0.35 - 10 microns)
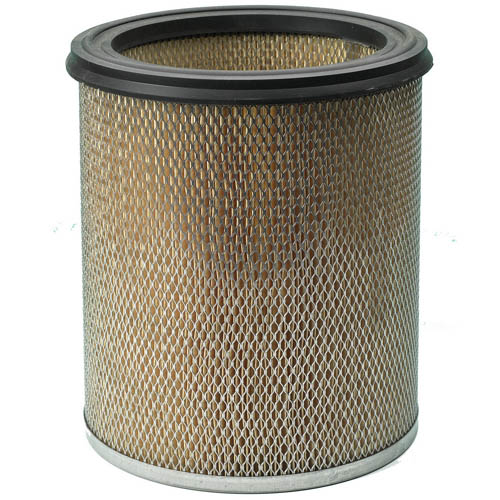
You may have heard of HEPA filters for vacuum cleaners and room air filters. HEPA stands for "High Efficiency Particulate Arresting". Arresting meaning stopping. These filters were first used to capture radioactive particles in the air at the facility where the first atomic bomb was being built.
HEPA filters will only miss 3 out 10,000 particles 0.3 microns in size. For larger size particles, it misses even fewer of them.
It uses a mesh of fibers to accomplish this. Fibers can be made from plastic, glass, or cellulose (like cotton fibers that we use in this lab).
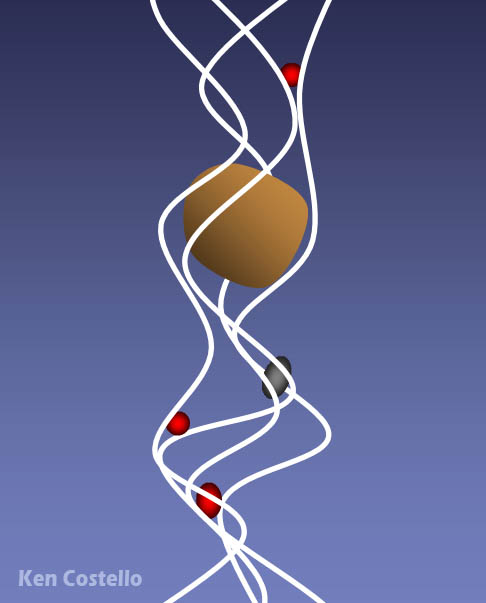
The fibers actually have openings much larger than the particles that it can capture. So it doesn't act like a seive that can only capture particles larger than the seive openings. As particles move through the fiber mesh, they get wedged in the narrow spaces where the fibers cross each other. The faster moving air actually helps particles get wedged in between fibers. That's probably why its called High Efficiency Particulate Arresting. Of course, particles larger than the openings will get caught between the fibers.
They call these mechanical filters because the particulates are mechanically held (blocked or wedged) in the filter.

This is a granule of activated charcoal. The pits seen are about 100 microns in size; however, these are the large pits. There are others thousands of times smaller. So activated charcoal can act as a mechanical filter by captureing particles larger than its smallest pores. However, it can trap certain substances that can pass right through the pores. It does this because certain substance are attracted to the surface of the carbon. In other words, the carbon in activated charcoal acts like fly paper to certain substances. Vapors from solvents like gasoline or paint thinner stick to the surfaces and are trapped.
They call this adsorption (spelled with a "d"). Absorption is when a thing soaks into something. Adsorption is when it sticks to its surface.
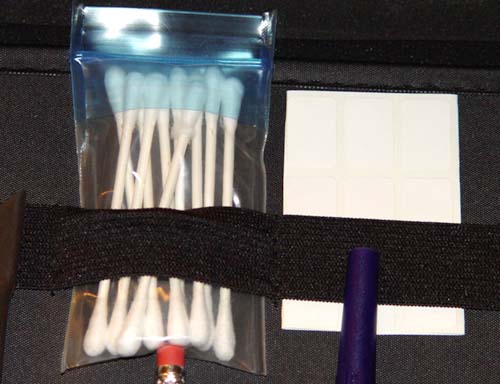
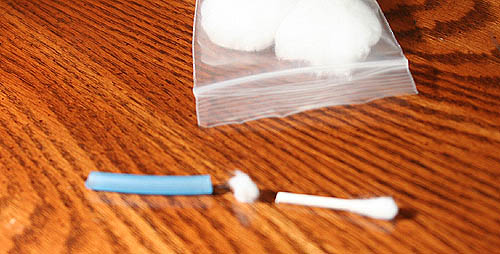
#1. You will use a cotton swab and the labels stored next to it:
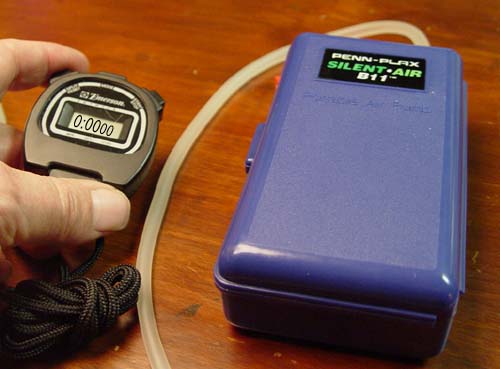
#2. Portable Pump and Stop Watch:
Note: Your pump may be a different color or different brand.

#3. Ziploc bags:
You will use 4 Ziploc bags to hold the four samples that you will mail.

#4. Activated Charcoal.
You have two tubes of activated charcoal. You will be using just a little bit from one of them.
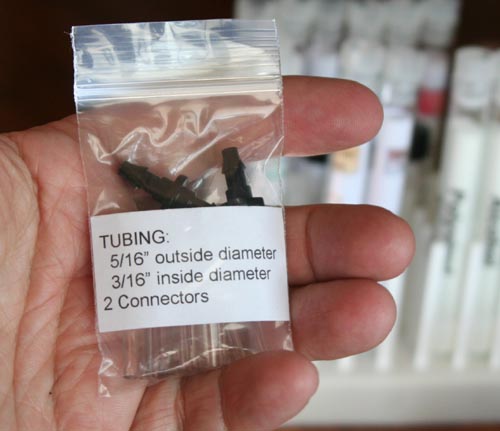

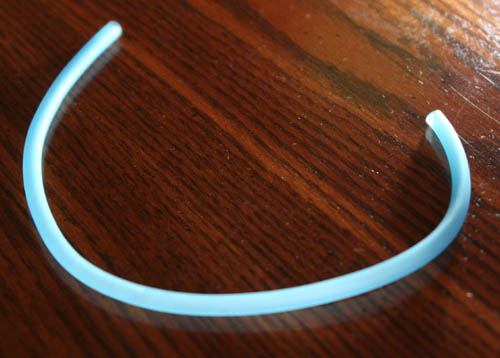

Our goal is to sample the air three
times. Two times at home and one time in our car as we drive somewhere.
Two pieces of tubing are filled
with cotton fiber. One piece of tubing is filled with activated charcoal.
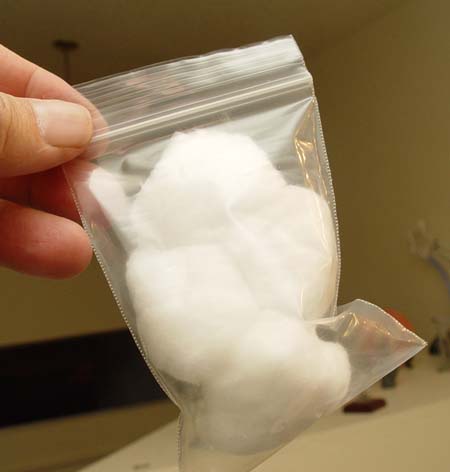
One ziploc bag contains the same
cotton that is used in two of the pieces of tubing; however, this cotton
has not had air pumped through it.
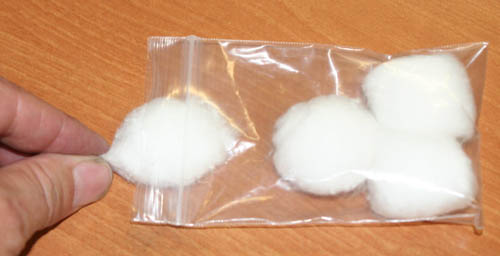
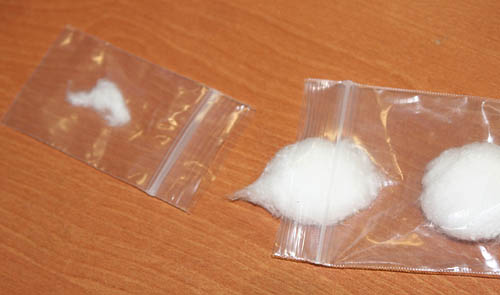
Place that piece of cotton into one of the ziploc bags. Later you will label the bag as "Control."
In order to tell if particulates came from the air and not from the cotton, we must have a piece of cotton that has not been used to filter the air. For example, the cotton in the bag may already have some particulates on it, or your hands may have particules on them. If I see particulates in this supposedly clean piece of cotton, then I will realize the other pieces of cotton used to trap particules in the air may be contaminated with these particular particulates.
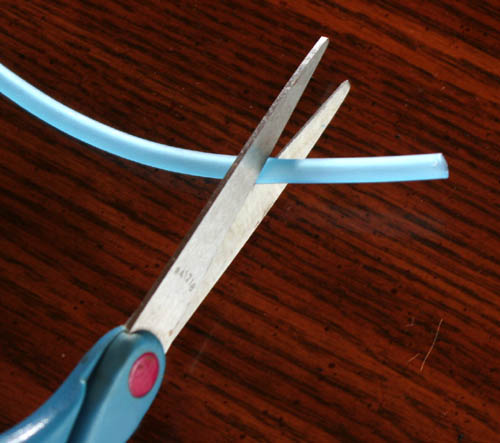
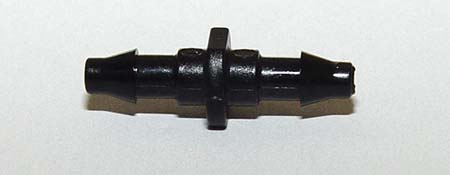
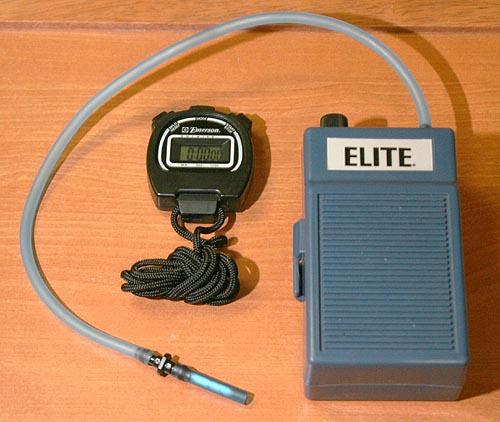
Start stopwatch and turn on the air pump. Let the pump run for about 20 minutes. Make note of exact time when you shut off the air pump. Also note what day and time of day you did the sampling.

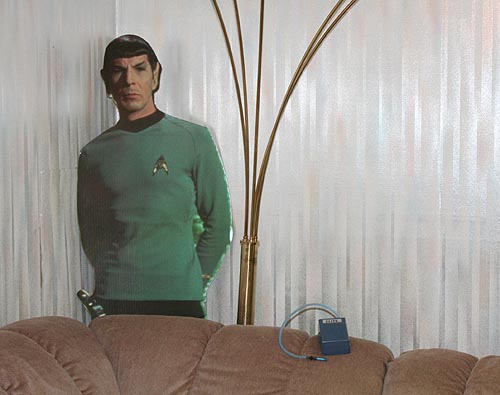
Take a picture of the location where you ran the air pump. Try to be in the picture. I used Spock as my fill-in since I had to take the picture.

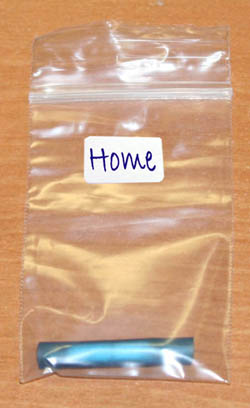
When the air pump has run its 20 minutes, turn off the pump and pull off the small piece of blue tubing that has the cotton in it. Put that piece of tubing into a ziploc bag.
Put one of the "Home" labels on the bag.

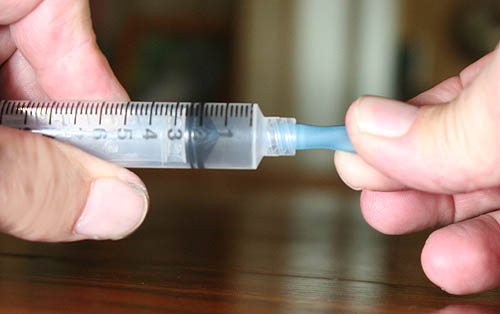
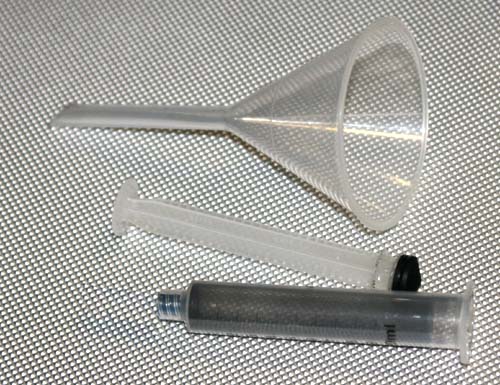
The activated charcoal will be hard to get into this little piece of tubing. We will use the syringe as an funnel.
First attach the tubing by twisting the tubing so it will tighten onto the tip of the syringe. The end where the cotton plug had been inserted is hidden under my fingers.
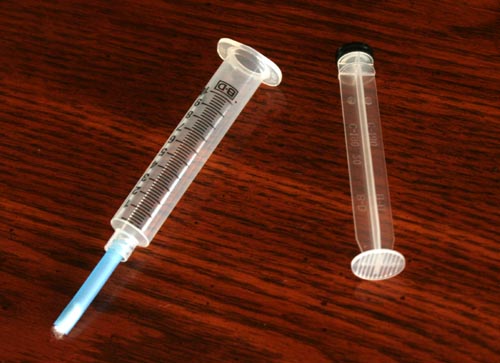
You can pull out the plunger. The plunger will resist being pulled out, but pull hard enough so it comes out.
Notice the piece of tubing is attached to the tip of the syringe. The cotton plug is intact and should keep the activated charcoal from spilling out.

The syringe can rest in an empty test tube or you can just hold it. I was using my right hand to hold camera so I couldn't hold it.
Pour in about 3 or 4 milliliters of activated charcoal (as shown on the syringe). Caution: Activated charcoal spilled on light colored fabric will be hard to remove.


To keep the activated charcoal from flying out, be sure to reinsert the syringe's plunger back into the syringe.
Now shake the syringe see if you can get the smaller granules of activated charcoal to fall into the short piece of blue tubing.

Holding the tubing in front of a bright light lets you see if the activated charcoal has fallen into it. Here only a little has come in. I then will continue to shake the syringe or flick the syringe with my finger to cause pieces of activated charcoal to fill about one half of the piece of tubing.
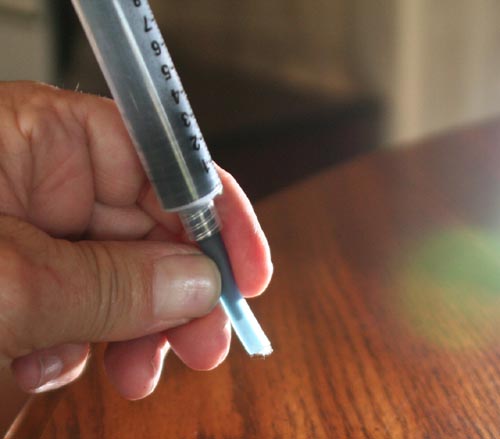
If the tubing has activated charcoal in it, you can feel it. It won't collapse as much. So instead of looking at the tubing in front of a bright light, this is another way to see if you are filling it.

After you have filled the small piece of blue tubing with activated charcoal, take off the plunger again. Now pour the activated charcoal that's still in the syringe back into the Activated Charcoal test tube.
Use a funnel to help get the activated charcoal back into the original activated charcoal test tube.


Attach this piece of blue tubing that has activated charcoal in it to the air pump again. Start the stop watch again and turn on the air pump. Let it run about 20 minutes, too. Again make note of the exact time it ran plus the time of day and date.
Even though activated charcoal can act like a mechanical filter to trap particulates, it also can trap solvent molecules in the air that are a million times smaller than particulates. It can do this because vapors like gasoline and other solvents, stick (adsorb) to the surface of the activated charcoal.
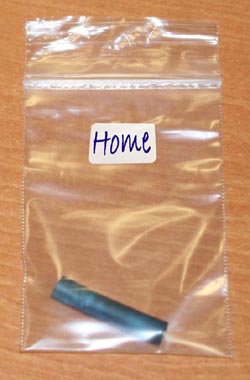
When the air pump has run its 20 minutes, turn off the pump and pull off the small piece of blue tubing that has the activated charcoal in it. Put that piece of tubing into a ziploc bag.
Put one of the "Home" labels on the bag.

Take the third short piece of blue tubing and again stuff it about half full with cotton (don't stuff too tightly).
Place this piece of tubing onto the air pump again.
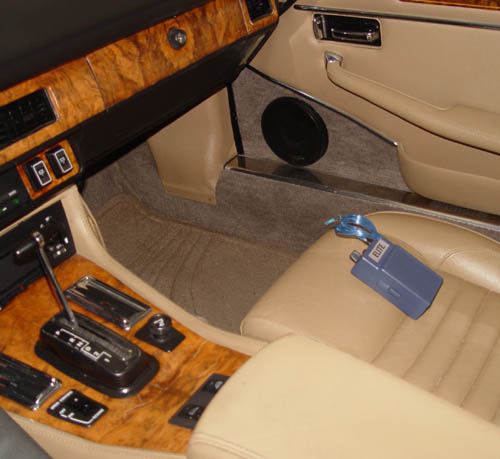
To sample the air in your car, place the portable air pump (with the piece of blue tubing with cotton in it) in a vacant seat in your car (front or back).
When you drive somewhere turn on the portable air pump. Try to get 15 to 30 minutes of sampling time. You can use a stopwatch if you want to, but I don't want you to be distracted if you are driving. Just look at your watch or estimate the time.
Record what route you took, the day, and time you left and arrived. For example, I left home near Southern Ave and Val Vista. I took Val Vista to US 60 and drove to MCC at Dobson exit. Date: 8-11-07. Left: 8:30am Arrived 8:48am. (18 minutes).
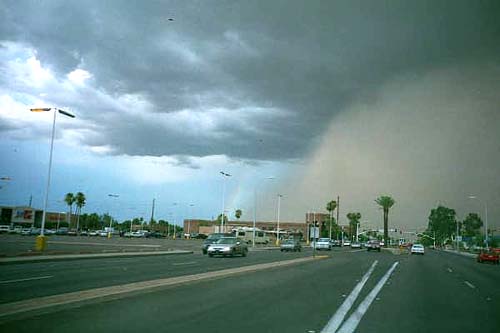
 Take
a picture of what the air looks like. Don't do it while driving. You can
take a picture before you leave or after you get to your destination.
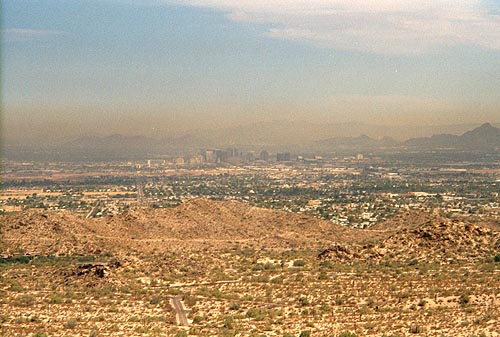
For example, if your picture shows a dust storm coming, it will help me know why there's so many dust particles caught by the cotton swab.
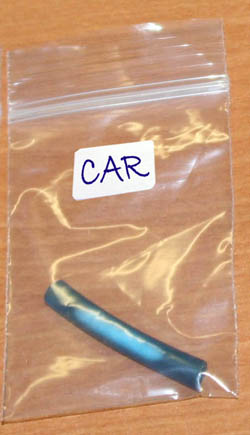
When you get a chance, place the blue tubing that had air pumped in it while in the car into a ziploc bag.
Place the "Car" label on the ziploc bag.

You should now have four ziploc bags. Two had air pumped through them at home. The two with cotton will be used to see what particulates were in the air. The one with activated charcoal might detect solvents in the air.
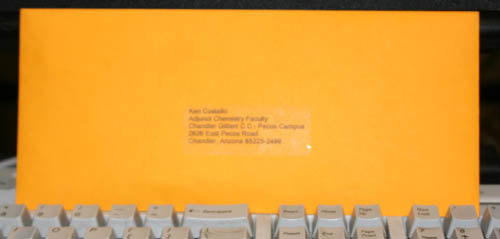
In your kit is a yellow envelope that has my name on it plus the address to CGCC.
Place the four ziploc bags into the envelope and mail the envelope to me (you'll need a stamp). Email the dates and times you did the air sampling to me, too.
Phoenix College students should send pictures to chm107pc@chemistryland.com; CGCC students should use chm107cgc@chemistryland.com.